

Can you build a whole boat in two days?
Apparently you can. I had no idea.
Dave Gentry designs small skin-on-frame boats. There are lots of boat designers out there – some living, many not. Many beautiful boats out there, big and small. Most require a large investment in both time and money to bring into the world. But Dave has found a particular niche: His forte is to turn a small pile of wood and materials into a fun boat, with as little money and effort as possible. And he’s very good at it.
You can see all Dave’s designs on his website at:
gentrycustomboats.com
His plans and kits can be ordered through Duckworks here:
Duckworks – Plans and Kits by Dave Gentry
A few weeks ago, we met Dave and his daughter over at the local reservoir to try out a couple of his paddling boats. T had shoulder surgery early in the summer, which put a crimp in our canoeing schedule. I knew one of Dave’s light weight designs might be a boat she could handle on her own until she gets her strength back. A form of physical and mental therapy, and way more fun than the exercises the doctor prescribed.

His Chuckanut 12s turned out to be the perfect fit. It’s a narrower version of the standard 12, using the same frames as his 10 foot model, but stretched back out to 12 feet long. A perfect play boat for someone with a small frame of her own.
I’ve never built skin-on-frame before. Dave literally designs and builds them for a living, so he offered to show me how he does it, by building this boat together. After a year and a half of lock-down in a worldwide pandemic, this sounded like more fun than a grown man is legally allowed to have. Which of course means I said, “When can we start?”
The answer was last Saturday. By Sunday night, we had the boat completely done except for paint and trim. I spent two and a half years building the Melonseeds, so to me that’s just insane.
Day 1
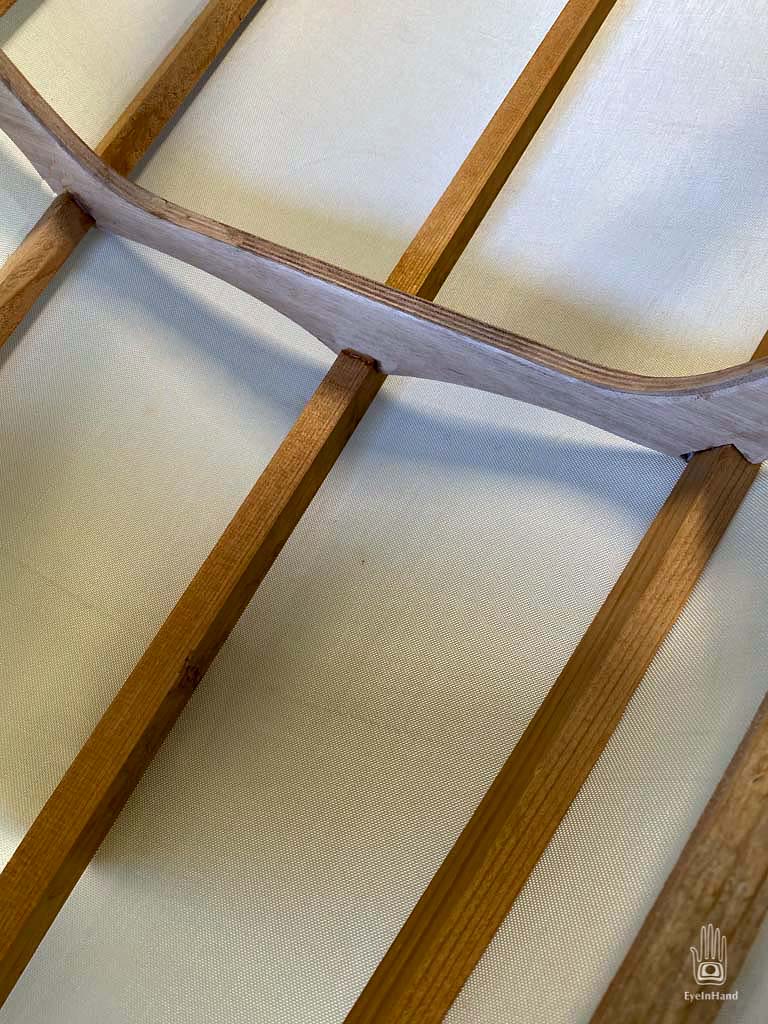
I rolled up to Dave’s place around 10:30am. He had already cut out the frames and most of the stringers. The stringers are made of cedar, which is stiff and brittle, so he was “teaching them to bend” by propping them on saw horses and hanging weights from them.

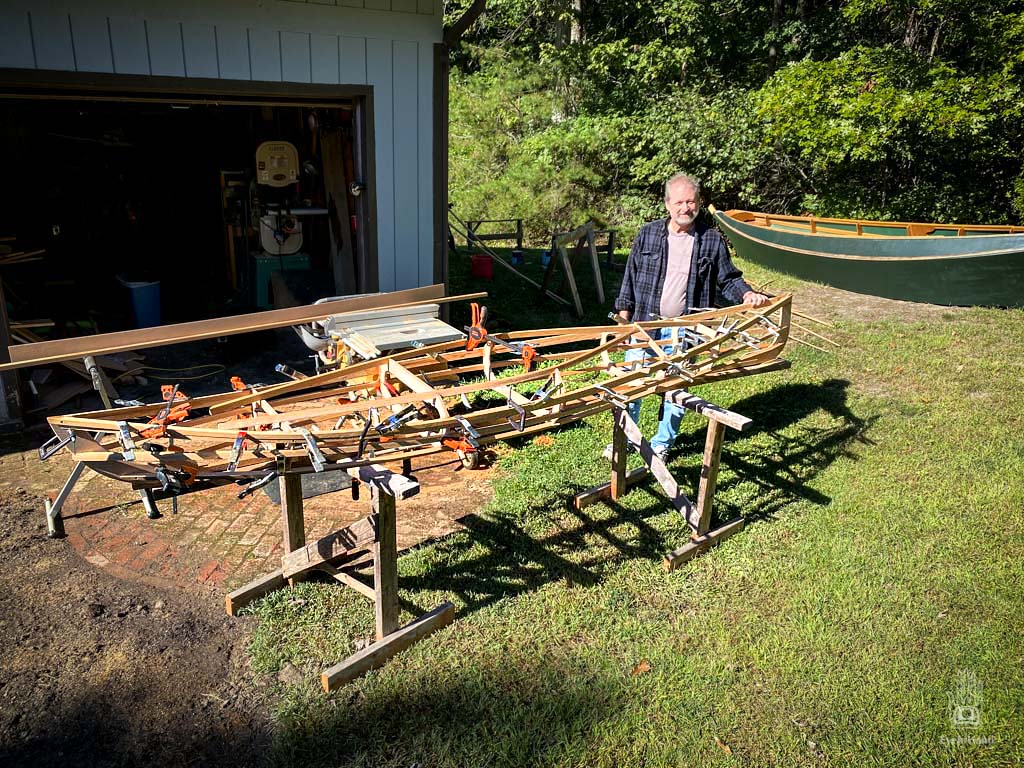
Around 11am we started marking up a simple 2×4 strong back on saw horses and laying out the keel. After that, everything was sort of a blur. I wasn’t prepared for how fast this would come together. We clamped a couple of frames in place, clamped and screwed a couple of gunwales to those, and then quickly filled in the rest.


Basically, we cut and clamped and screwed everything in place in a couple of hours, dry fitting the whole skeleton until it was done. Then went back and loosened screws to squirt thickened epoxy in the joints and tightened them up again. That’s it. That’s the whole tweet.


Of course, Dave has done this hundreds of times. He’s eliminated all the head scratching moments, which accounts for about 90% of my time on any project. He’s also refined every part of the process to make it easier and/or less expensive than conventional methods. But you still end up with a boat you can lift with one hand, that performs well and withstands the elements.
- Instead of lashing the components together, they’re screwed and glued.
- Instead of expensive and hard to find silicon bronze, he uses stainless steel screws from the hardware store.
- Instead of sewing fabric on with a needle and artificial sinew, he uses stainless steel staples.
- Instead of exotic and expensive coatings, that are hard to get and tricky to apply, he uses hardware store rust-stop oil paint.
And he’s always experimenting, trying new things, not afraid to fail just to find out if something might work. His latest test on a big Dutch punter sailboat, is mixing paint into elastic construction adhesive, and working that into the fabric with a squeegee.
Day 2
On Sunday, we got started again around 11am. The epoxy was still a little soft, so we moved out into the sun to warm it up a bit.
While the epoxy set up, we cut and fit some styrofoam in the bows for floatation. This is just inexpensive home insulation sheets, cut into shapes with a razor blade and stacked in the bow ends.


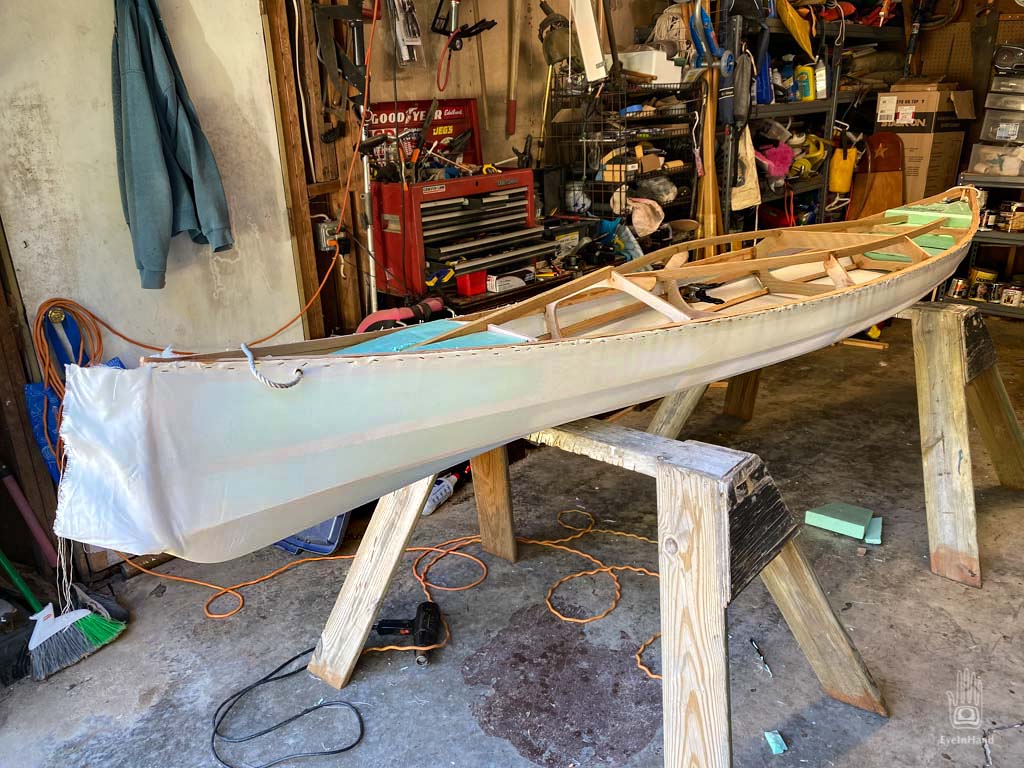
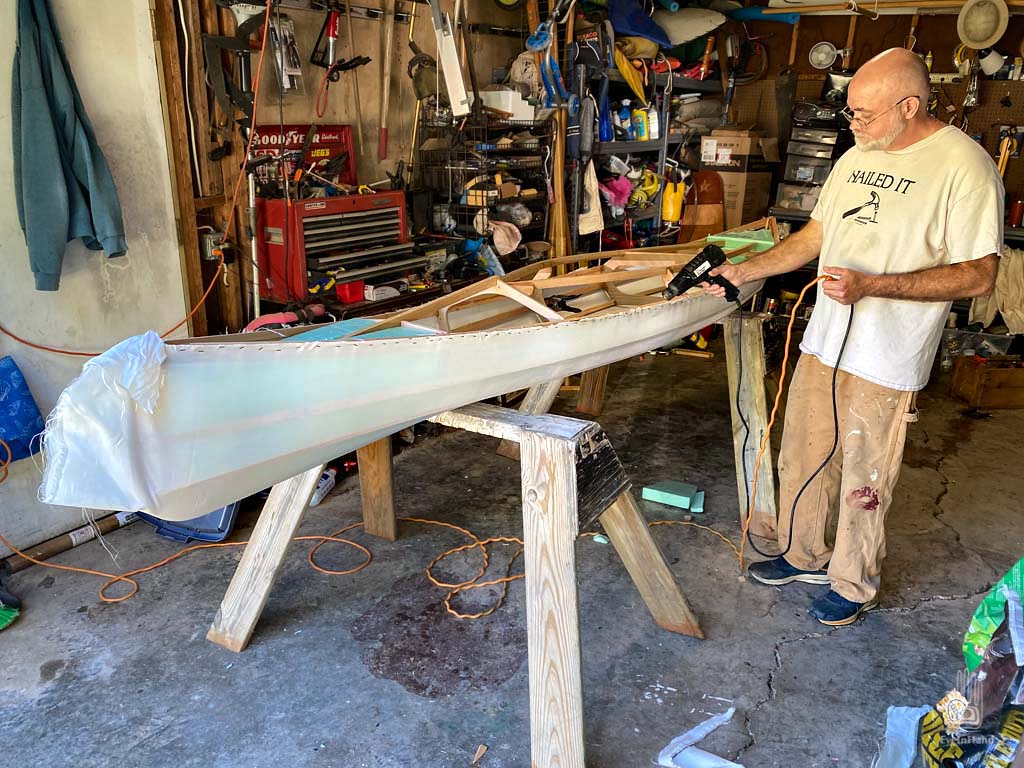
After that, we moved back into the shade to start skinning.
These boats can be covered with all kinds of different materials. I once had a Klepper boat that was skinned in black roofing rubber and textured vinyl naugahyde. Dave prefers polyester fabric; but with so many people stuck at home during the pandemic, home boat building had a bit of a boom. It’s almost impossible to find any polyester right now. So I ordered some heavy duty nylon for these projects.

Each material has disadvantages of one kind or another.
- Polyester is cheap and forgiving. Once it’s on the boat, you can shrink it with a heat gun and it draws up tight, eliminating any wrinkles from an imperfect install. And it takes pretty much any sort of coating to make it colorful and watertight. But it’s not as strong as nylon. And is now hard to find.
- Nylon costs more, but is stronger, very strong. It doesn’t heat shrink much at all, though, so you have to work harder to get it on right. And few things will stick to nylon, so options for finish coats and colors are limited. But nylon is readily available.
Nylon has another property, normally a weakness, that Dave exploits to advantage. Nylon absorbs water. It relaxes and stretches when it gets wet. After a tight skin has been in the water for a while, it tends to get a little baggy. So Dave soaks the nylon fabric beforehand, and installs it wet, spritzing it with water as needed to keep it moist during the skinning process.
As the nylon dries out, it tightens up noticeably. Applying heat judiciously with a heat gun or household iron tightens it even more. Enough to pull out some wrinkles, and this minimizes the stretching later when it’s in the water for a few hours of paddling.

Covering a boat is a two person job for sure. Lots of wrestling with the wet cloth, trying to pull it as tight as possible with three hands while firing staples into the frame at the correct time and place with a fourth hand. Dave says he does this by himself all the time, and I believe him; but I don’t see how he does it.
We got the bottom done first. Then trimmed the excess and singed the cut edges of the cloth to keep it from unraveling. We got it pretty tight, and running a heat gun over the whole thing removed the last remaining dimples to make it tight as a drum. Then flipped it over and sealed the bow ends using a double wrap and staples over a bead of epoxy.

Last step was covering the deck. This was much easier than the hull; maybe just because we had so much practice by then.
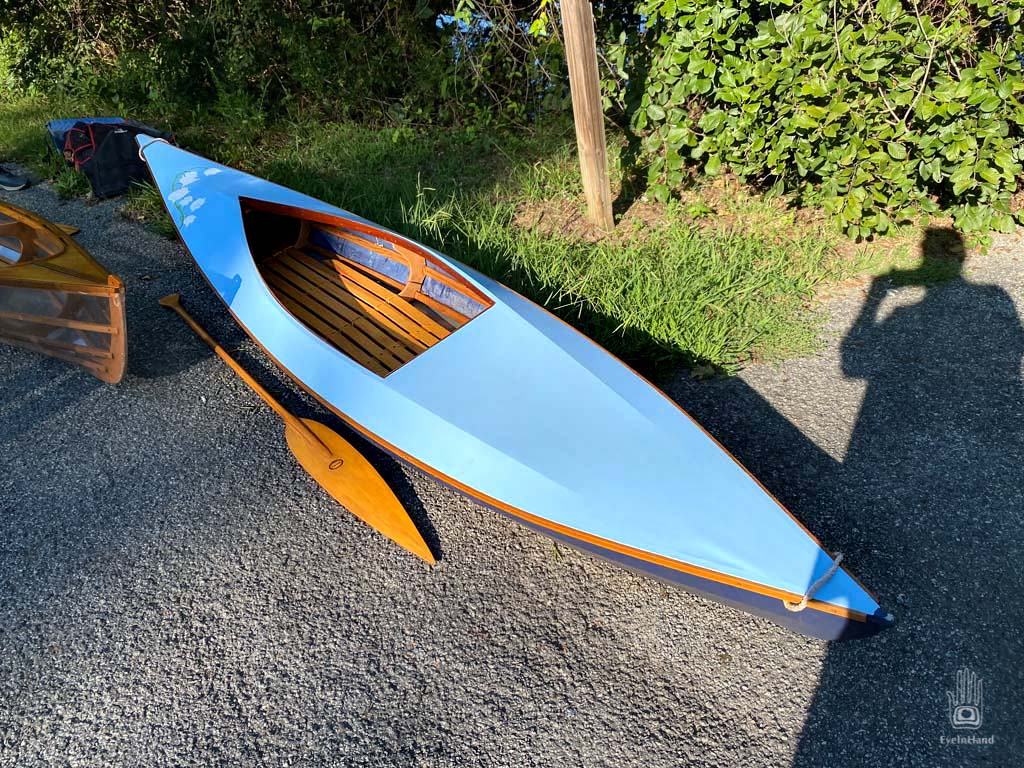
And then it was done. Two days, start to finish, all before dark on the second day.
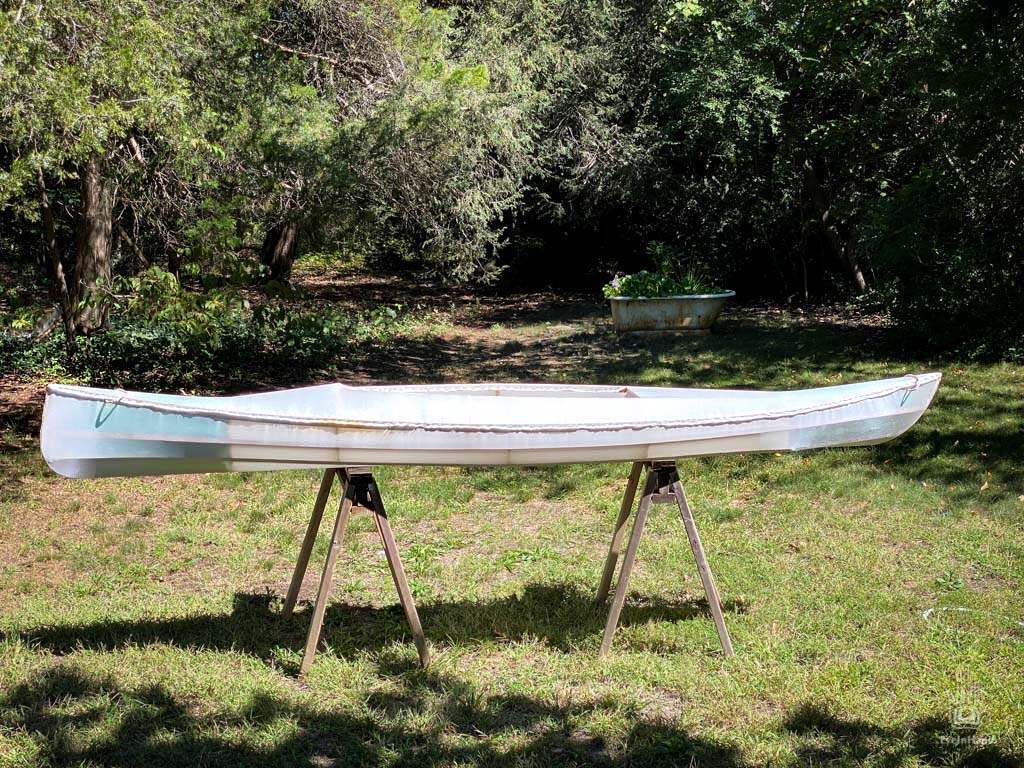


All that’s left is painting the fabric, then adding some trim, and floorboards to the interior to stand and sit on. I’ll work on that over the next few days.
Beautiful work. I want build a k1 kayak. You get me many new ideas. Thx so much