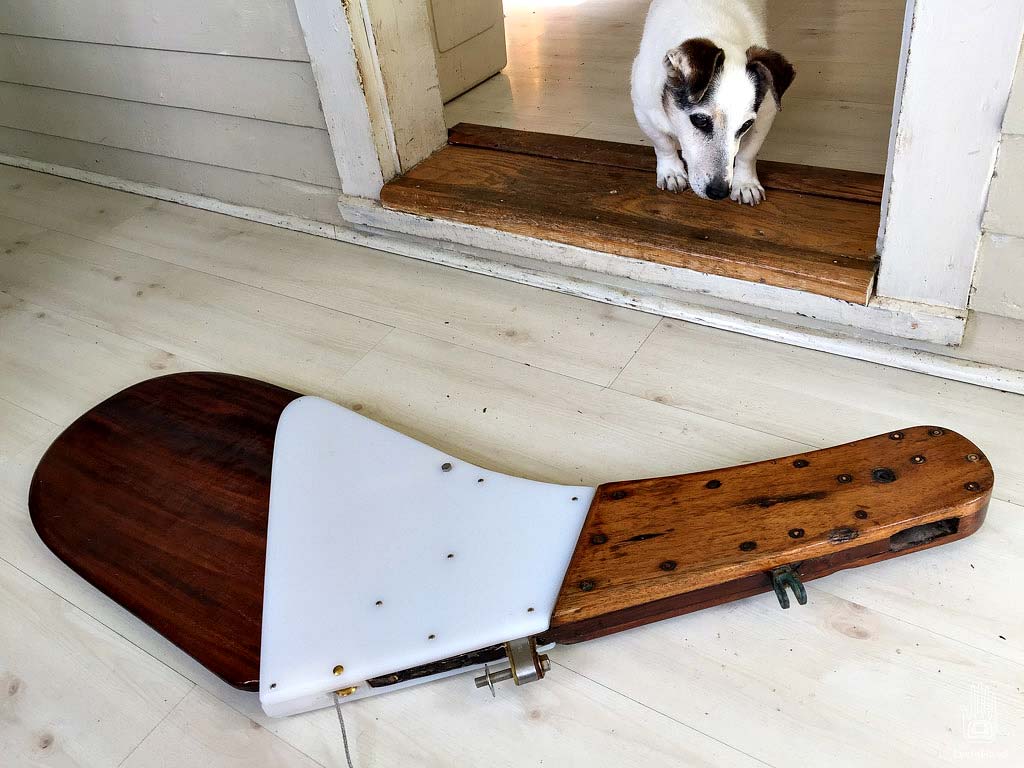
After seeing those new Lightnings up close, I got some ideas for how to do a few things on old #2833. Still much to learn, but it’s a start. And I got back early enough Saturday to get started. Then had all day Sunday. Two good days in a row, a new record. Main thing is to finish the kickup rudder. That’s essentially done.
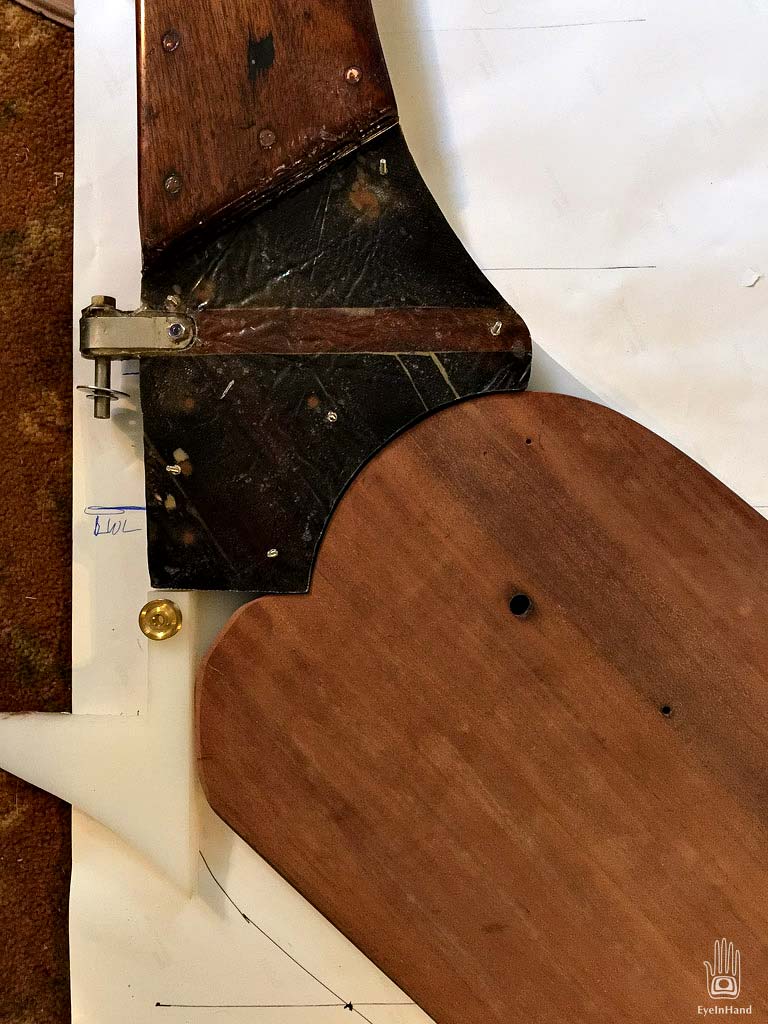
John included the plans for the boat, and those came in handy for this. I could draw out the original rudder lines on plotter paper to see how Sparkman & Stephens intended it. Laying the parts down on the lines made it easy to make final decisions and adjustments.
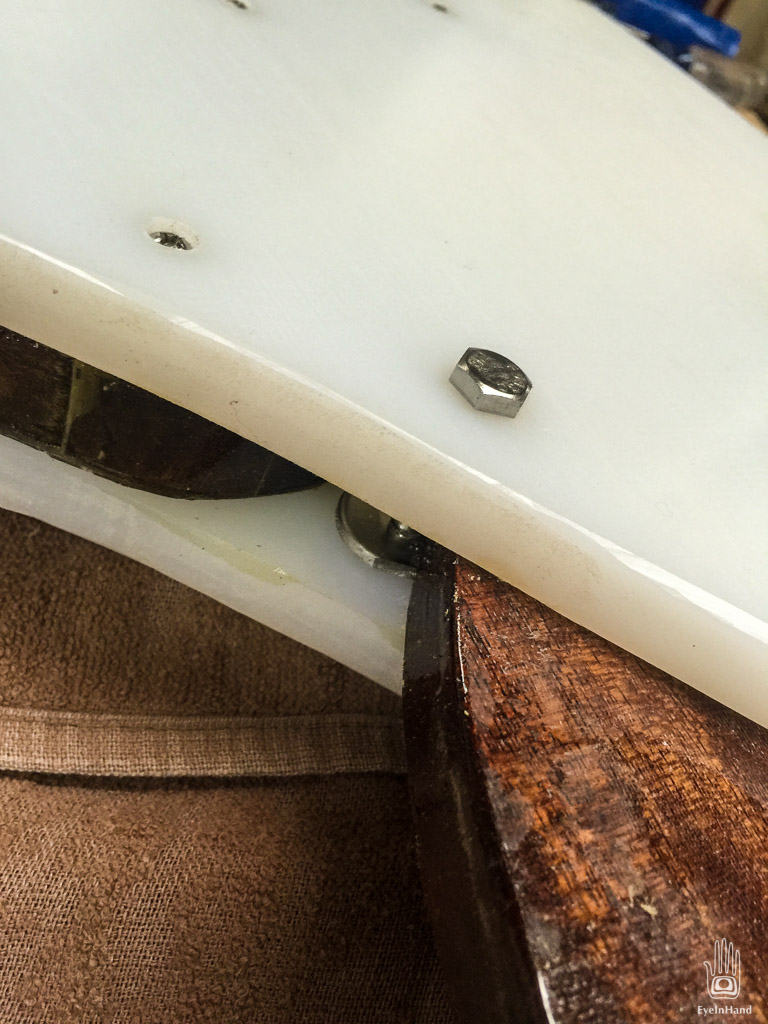
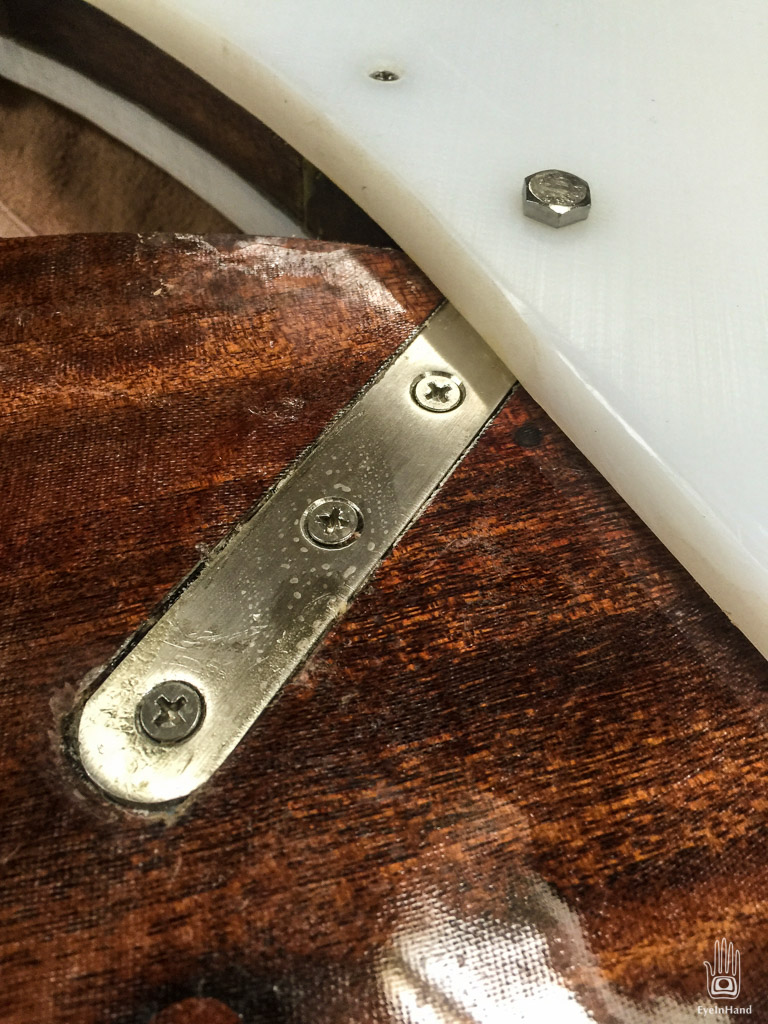
I finished up making the new cheeks out of leftover UHMW Polyethylene from the centerboards of the Melonseeds. Not as stiff as the metal plates I took off, but they’re slick, durable, and won’t rot or break. Some stainless steel screws, bolts, inset plates, brass sheeves, etc., and it seems good to go. There’s a 50/50 chance I’ll need to add another pin for strength, but putting pressure on it with the tiller there’s only a little give. If it gets sloppy after an hour of hard going in a stiff wind, I’ll add the pin.
Next up is rigging the remaining details of the downhaul and uphaul. I followed advice from Andy Slavinskas, who did an absolutely beautiful job restoring an old wooden Blue Jay, the little sister of the Lightning – same boat, just scaled down. He says he never bothered with an uphaul cord, that unless you weight them the blades will float on their own.
And he’s right. I stuck the rudder in the outdoor bathtub/goldfish pond and the rudder blade popped up like a cork. It doesn’t come all the way up, but essentially becomes like a barn door rudder at that point, providing a little steerage in shallow water. For launching and beaching, I have a simple loop of cord that will hold the blade clear of the water. Once ready to sail off, I can just slip the loop and toss it in the bilge.
I didn’t even need a cleat for the downhaul. I found a clove hitch around the end of the tiller suffices, and with a single tug I can release it. Nice. I also got tired of the hiking stick flopping around all over the place, so made a quick and cheap clip out of old PVC pipe to let it snap in place along the tiller. Nice.
But, this whole rebuild is one of those things that may work great in theory, and then reveals problems in practice. We’ll have to see. The ability to steer – reliably and under the worst of conditions – is pretty dang high on the need-to-do-consistently list.
If I ever start over from scratch, I will definitely use a different design. There are problems with this one that can’t be remedied easily. For instance, the downhaul cord is exposed when the board is partially raised. That’s a ripe opportunity for the cord to snag on things or act like a strainer to catch grass and weeds and such.
And when partially raised there’s not much strength in it. Not a big deal, with so little board in the water, but I would like to not be nervous about it breaking when using it in shallow water. The board itself is sheathed in fiberglass now, and quite strong; but the pin position and leverage points are not ideal. I had to compromise just to make the board clear the draft of the hull, to get protection of the skeg.
Mostly, I’m just trying to get this boat usable for the season.
