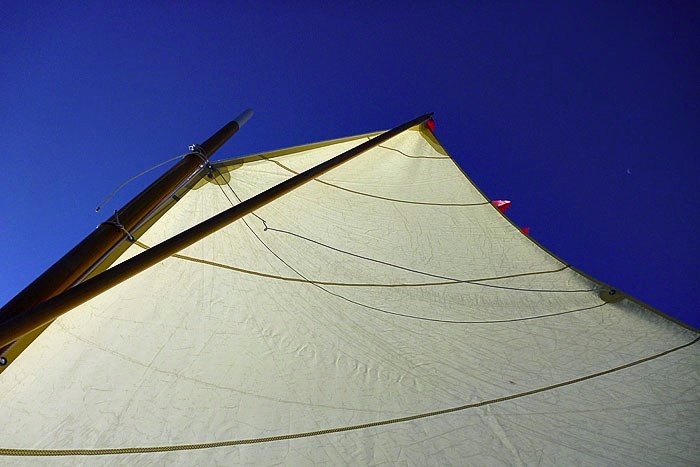
Great wind for sailing last weekend. Too bad I couldn’t take advantage of it.
This is what it’s like: You wait all week to get back to work. You plan your steps, lay out your tools, go through the motions, in your mind working through the trouble spots. The day arrives and you wake up early, all spunky and ready to go. You got your coffee, your music, you even fire up the saw and make a couple of good cuts. Continue reading “Words Fail, as does the Power”
This was a good weekend, spent bending many pieces of wood into pretty shapes. There was a lot of free time between steps, so I could play with the video camera some. The video above shows the whole process better than I could describe it. If you want to see it in HD, there’s a version on Youtube here:
Barto’s plans call for steam bent Ash as knees to support the side decks. I’ve never seen a Melonseed that actually has them. All the builders I know used sawn knees. Now that I’ve tried it I understand why. Done properly, I imagine the sawn knees may even be stronger, and certainly must be quicker.
These side knees are rather short pieces, and in Barto’s plans are made of two parts: a flat wide piece that conforms to the shape of the hull to form a solid base, and then the more deeply curved but thinner piece that angles down from the coaming to attach to the base, which actually provides the support.
Since these pieces are small enough to fit in our big microwave I decided to give it a try.
A long time ago, I knew a wood turning craftsman who created works both beautiful and unique. He turned green wood on a lathe into thin, delicate bowls and vases. Then he microwaved them wet, and, while the wood was still hot and steaming, would warp and pucker them into intricate sinuous shapes. The forms were fascinating and elegant, and the idea has always stayed with me. I didn’t have a great experience with a conventional steambox last time, and since these pieces are small enough to fit in our big microwave I decided to give it a try.
(This is what I was going to start last weekend when the power went out. Yesterday, after everything was set up and ready to go, literally as I reached to punch the Start button on the microwave, I heard two distant explosions – two transformers – and, you guessed it, the power went out. Moments later, sirens. Then, fortunately, the power came back and stayed on.)
There’s surprisingly little information on the web about steam bending that I could find at all. What you can find is often interesting, but not much good for details on how to do it. There’s even less on using a microwave. Ok, almost none. But, after a couple of frustrating evenings of trial and error, I came up with a combination that works really well. This is what I found out, so if it helps someone else, great.
Bentwood kindling. Lessons learned the hard way.
I did learn that it’s not the steam that makes it possible to bend wood – it’s the heat – which is why a microwave works. Heated to near boiling, the wood softens like plastic, then rehardens as it cools. The wood does have to be moist, though. Steam heat is more efficient at heating stuff than dry heat, and reduces the loss of moisture when wood is hot for a long time.
Soaking the wood for several days in advance.
The advantage of a microwave oven is speed. IF you use green wood, or soak dry wood for several days in advance, the microwave will heat the wood very quickly, before it has a chance to dry out. It literally turns the water within the wood to steam. In fact, it heats it so quickly that if you’re not careful it will boil the water off and char the wood in seconds. The first piece I tried turned to charcoal, from the inside out.
A wet piece of towel helps diffuse the energy to heat more evenly, and holds in the steam.
The key, I learned the hard way, is to get the timing right. The time can vary, depending on the size of the wood and the power of the microwave – they are all different. A minute to a minute and a half on High was right for our new oven; the old one would have taken more than two minutes. And you might want to do this while the primary cook is out of the house for a while, long enough to clear out the smoke if necessary.
Most important is to use a bending strap. This strap is the key to successful wood bending, regardless of your heat source. Only a few very old documents I found made reference to it, but it’s what made the mass production of bentwood chairs possible in the late 19th Century, the ones that appear in so many Impressionist paintings. It was considered the first modern chair, and they were favorites of artists like Picaso and Monet.
I used a tempered stainless steel ruler for my strap, since it was the right width. Without it, every piece I tried to bend broke. With it, very few broke, and those were the scrap pieces with grain runout or other odd flaws. Wood doesn’t stretch. When bent into a curve, the outer edge is pulled apart, and this is what causes the wood to snap or split, no matter how hot or wet it is. But heated wood will compress, and that’s where the bending strap comes into play. When clamped on tight along the outside edge, it prevents the wood from stretching, and forces the inside edge to compress.
Bending jig.
With 24 pieces to bend, it made sense to build a jig, and this helped, too. Especially since these pieces are small and hard to bend by hand. When you want to break up sticks for firewood, you do what? Bend it over your knee, of course. It’s the easiest way to break a piece of wood – apply all the pressure at one point in the middle. So don’t do that if you want the wood to bend instead of break. Apply controlled pressure along the whole piece of wood, not putting too much on any one place. A rolling jig helps with that.
Bending jig, close up, with strap.
Once the wood is bent around the jig, let it cool completely. Then, if you’re careful, you can move it off the jig to another form. Let it dry on the form for at least day or two; less if you use heat or have good air circulation.
There’s some spring back when removed from the forms. In this case, I want to install the knees under light pressure, so that’s OK. Also, each piece is a little oversize and takes on a slightly different bend all its own. I’ll shuffle them around the different locations until I find the best fit for each piece, then cut to size. The slight spiral shape of the curve will help, allowing me to cut the final piece out of the blank to include the curve that suits the location. In most cases I overbent the wood some, and expect to use a heat gun to open them a little to the final curve for a good fit.
The Northern Neck is the large finger of land between the Rappahannock and Potomac Rivers. It’s where I spent so many summers growing up at my grandparents’ house – sailing, fishing, crabbing, and exploring. So many great memories are scattered around the marshes and woods and waters of that place, and no doubt we’ll be making more soon with these new boats. Continue reading “Sails”
Astute observers and Melonseed owners will have realized I made too many spars. And there’s nothing called a “yard” on a traditional Melonseed. But once again I’ve done my best to channel Robb White, and in choosing a sail plan have gone somewhat against the grain and conventional wisdom. I used historic precedents, though, and the risks here are not as great as with the unconventional centerboard design. Continue reading “Sail Plans”
I would love to have two sets of those beautiful Shaw & Tenney spoonblade oars. They are truly works of art. But the Boat Budget is getting shallow, and I can see bottom now in places, so I’ve had to make some choices. There are sail kits available from Sailrite, which are pretty reasonable, and they actually have a couple of choices for Melonseed sails. I could have saved some money by making the sails from kits rather than having them made professionally. But I can make serviceable oars more easily than I can make professional quality sails, and the sails will affect the ultimate performance of these boats far more than the oars, so I’ll make the oars. There are some hardware fittings I’ll probably make, too, which will save quite a bit as well. That should see me through to the end. Continue reading “Oars”
For most of this project, and long before, I assumed I would make hollow Bird’s Mouth masts when I finally got the chance. There are many resources explaining how to do it on the web, as well as in print, but essentially it’s a way of making interlocking staves to create a strong hollow tube of wood. Continue reading “Mast Making”
It’s going to take several posts to catch up with where things are now. I’ll try to do several this week, but a lot continues to happen fast.
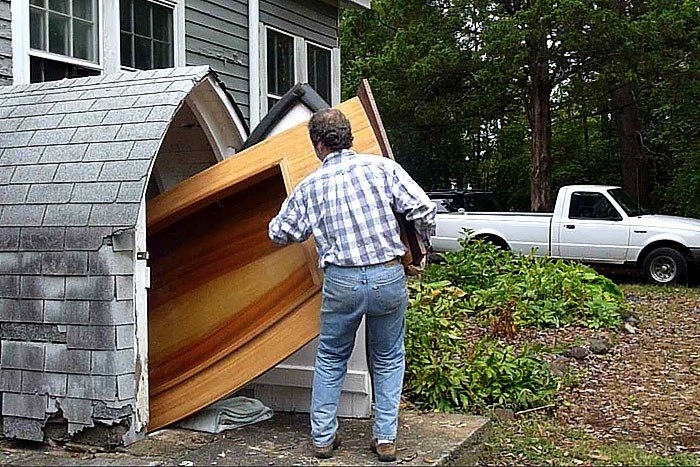
With all the spars and masts to finish round, I needed more room and a long straight work surface, especially for the masts. The Strongbacks are the perfect length, but that meant moving a boat somewhere. I spent an hour engineering all sorts of pulleys and ropes and harnesses to lift North up to the ceiling out of the way, then said this is crazy. Every time I bumped the boat it would move. Gave it heft. Got T to help me keep it from falling, then just walked around and picked it up. The entire boat, complete with framing, missing only the deck and some trim, weighs just 80 pounds. Amazing. The centerboard, rudder and floorboards will add some weight yet; but still, I bet each boat ends up weighing less than I do.
Meanwhile, back to spar making.
This much I can tell you: a router does not a spar make. I set up a rack and jig on the Strongback, which works very, very well. I’ve seen pictures of people using routers to round out masts and spars. With so many spars to make, and wood to remove, I thought I’d try it.
Big mistake. Wisely, I decided I’d practice on the sprits and yards first – which were still a bit on the heavy side – before attacking the masts. Good thing, as I almost ruined two sprits before I gave up on it.
A router does a few things better than any other hand tool – cuts the insides of curves, makes smooth insets for hardware and inlays, and adds decorative edges. Anything else? Not so much. When working the outside of a curve of a pole, as a sort of makeshift lathe, you can only remove a tiny bit of wood at a time. Try to do more, or move a bit too fast, and the monster gets all upset, bucks, and chews up your wood. Not pretty. There are far better, safer tools for this. These would be manual tools, that don’t make shrieking noises and threaten to remove large portions of flesh. A hand plane works just as fast, without the risk of mayhem. Fortunately, the two mangled spars can be smoothed out and will work fine as the most light weight pieces. The rest of the spars received clemency. They got their treatment from the trusty old Block Plane.
The sprits will be set aside until the masts are ready, when everything will get the inside-out rolling-pin-sanding-belt finish. melonseed skiff, mellonseed skiff, melon seed, mellon seed