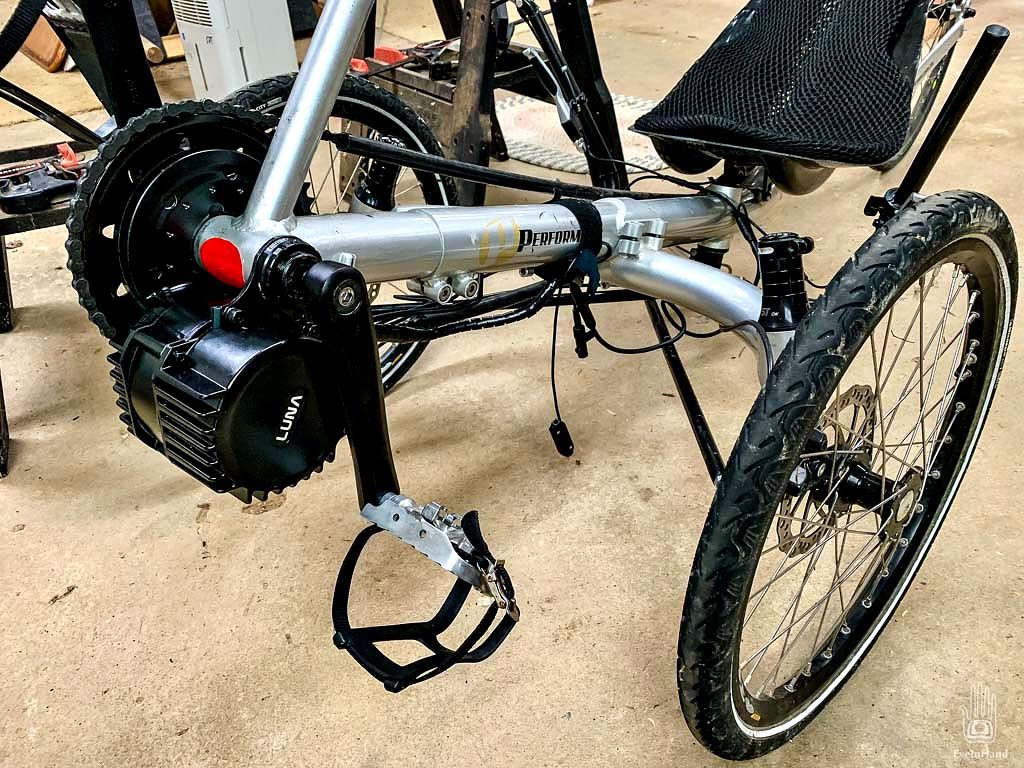
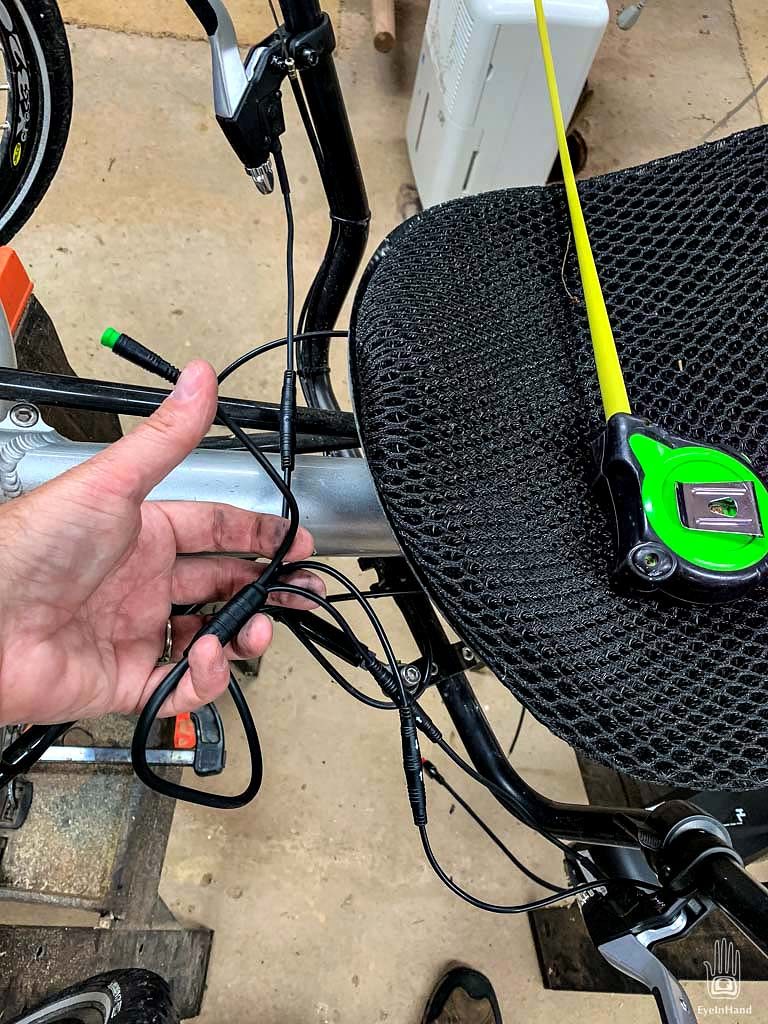
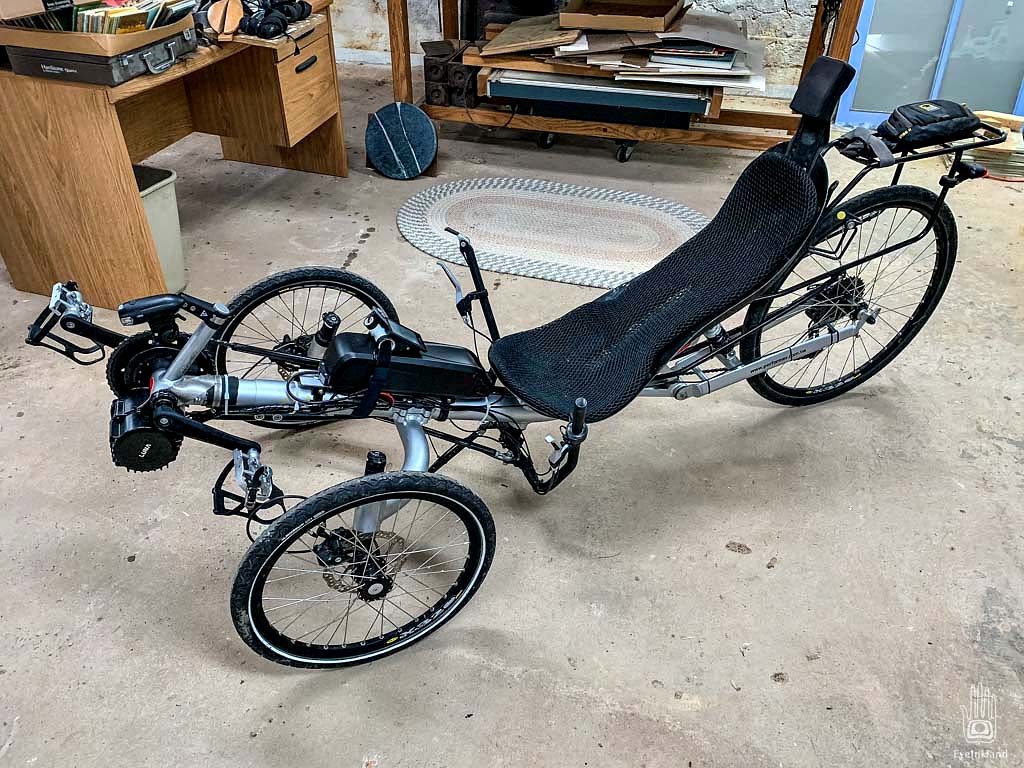
From the beginning, the intention was to see how far an electric powered trike could be pushed as alternative transportation. I even drafted a lightweight aerodynamic shell to make it even more efficient, and more practical in bad weather.
Draft 3D Model of Shell Body
Last month I ordered the various components needed to add the electric power.
You can buy the gear direct from manufacturers, most of whom are in China. But but there are a handful of reputable suppliers in the US who deal with the hassle of quality issues, testing the parts before shipping them out, and who provide both technical expertise and support when problems arise. They also navigate the challenges of figuring out which components work well together. With all the variables in watts, amps, voltage, etc. for every component available, from motors to controllers, batteries and chargers, all the parts have to be made to work within a common range or something will fry.
These dealers have emerged as hubs of rapidly changing information, and most participate in active online forums where builders and suppliers exchange info and results, ranging from bulit-from-scratch prototypes to complete production e-bikes delivered ready to ride.
Some motor configurations are best suited for specific applications. A good dealer can cobble together packages of various compatible parts and then sell them at discount if bought together as a package, reducing shipping costs. This discount allows them to offer expertise, but remain competitive over ordering the parts individually from disparate overseas suppliers. Speaking from experience, it’s very nice to have someone on the other end of a transaction who is invested in making your project work.
I configured and ordered a package from Luna Cycle in California, and give them high marks. They actually make their own batteries, which is a big plus. Not only are these high power batteries expensive, but they can be dangerous if not done properly. Flaws in manufacturing make batteries, especially those cheaply made, a frequent point of failure.
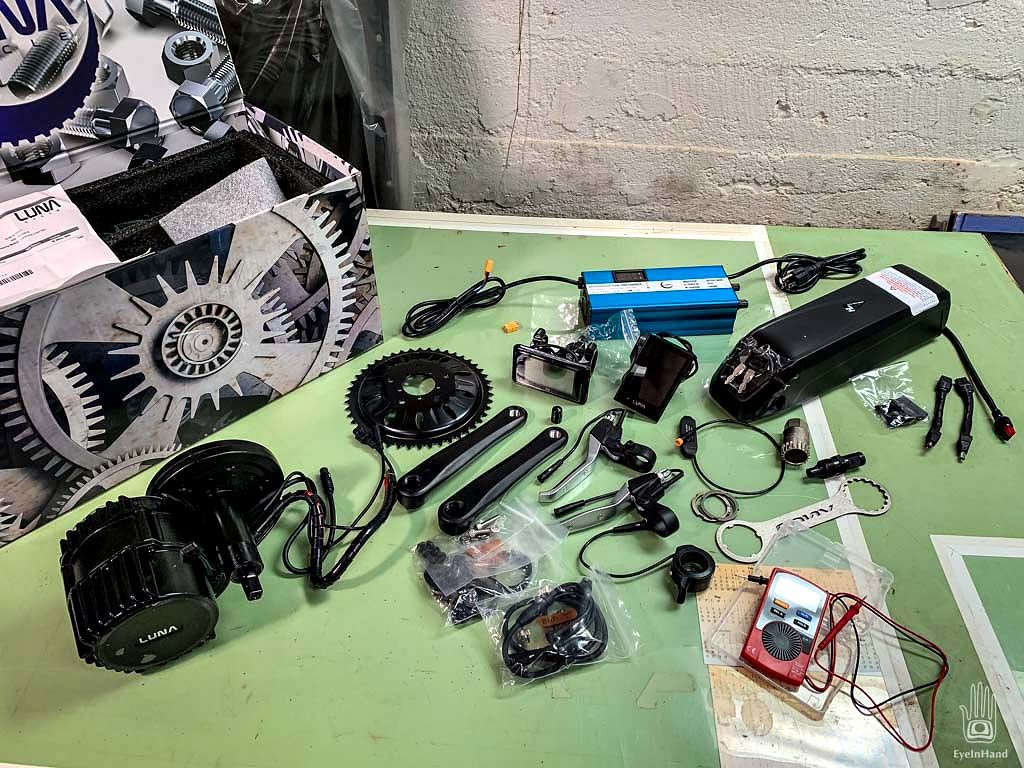
When it comes to electric bikes, motors come in two basic designs. After years of trials and testing, the options have come down to hub motors and mid-drive motors.
Hub motors are cheaper to make and easier to install. A hub motor can be ordered pre-built into a spoked wheel, sized to fit your bike. This allows someone with very little mechanical know-how to simply swap out the original wheel that came on a bike for a new motorized one. Plug in a battery and controller, and you can be on the road in an hour or two, tops. The components are weatherproof and reliable. For all this convenience, you give up some power and efficiency, but it’s very easy to do with a bike you already own.
The other option is a mid-drive system. While hub motors simply apply power to turn a wheel, mid-drive motors are installed inline on the frame to apply power to the chain at the front sprocket. These are more troublesome to install. You have to disassemble and remove the pedal drive parts of the bike and replace them with the new electric motor+pedal combination. It requires some specific bike tools. The size of the parts have to be ordered to fit your bike frame, and even then some customization can be required to make it all work.
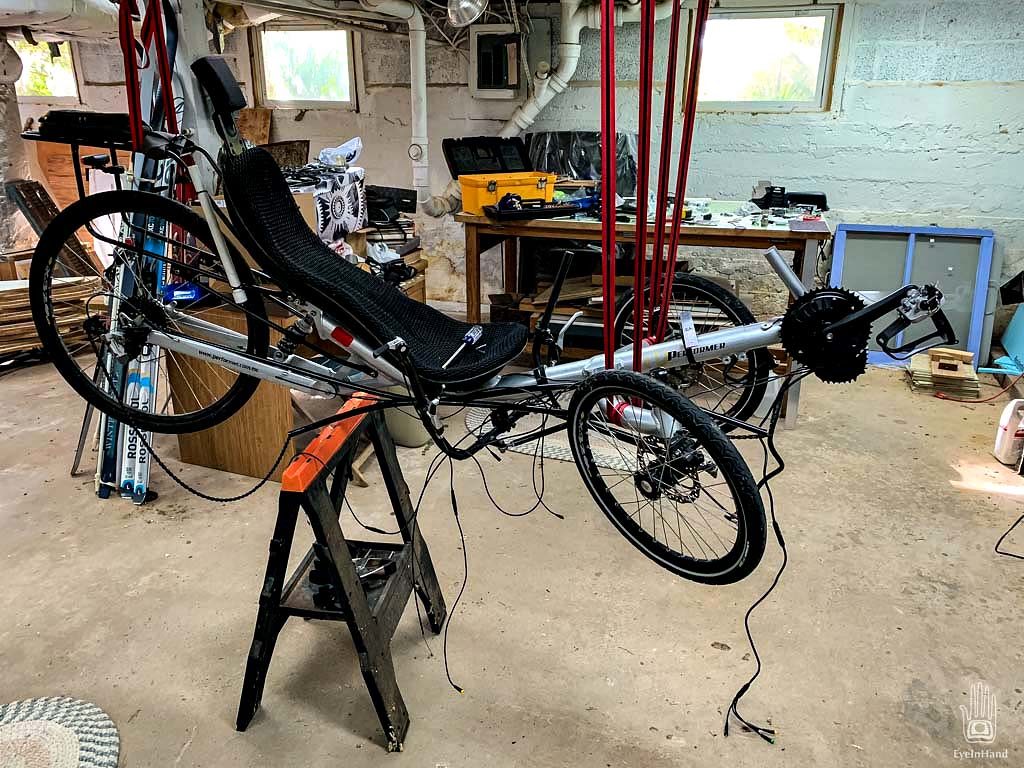
But, if you have the patience, or just need more power, the advantages of a mid-drive system make the effort worth it. A mid-drive motor adds a tremendous amount of power where the power is designed to be – at the pedals – and the existing gear set on the rear wheel remains intact. That’s the key. The gears become an efficient transmission system so the motor works at optimum efficiency. Gear down as needed to accelerate or climb steep hills. Gear up to maintain speed at the upper end of the range where you don’t need much torque.
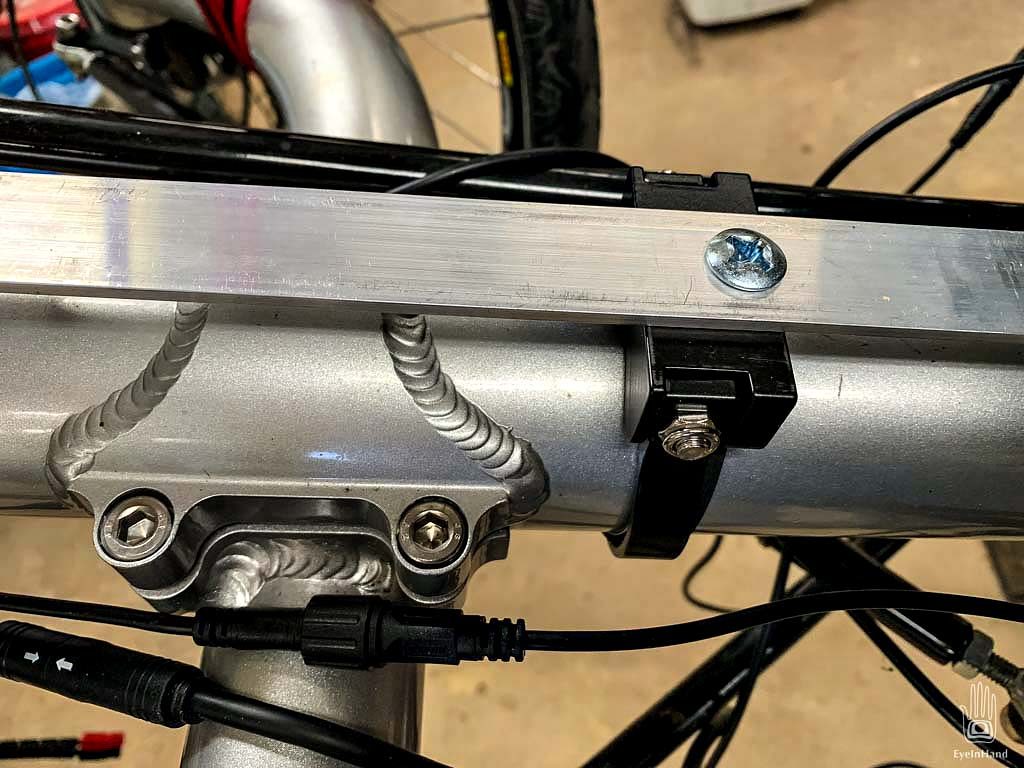
I had to use a 6 foot length of pipe for enough leverage to remove the bottom bracket on the trike. It had already started to corrode in place. I also had to machine some parts to make a mount strong enough to hold the battery securely. And had to cold forge a stainless steel bracket into shape to brace the motor, otherwise the tremendous torque it applies could make it spin in the frame.


