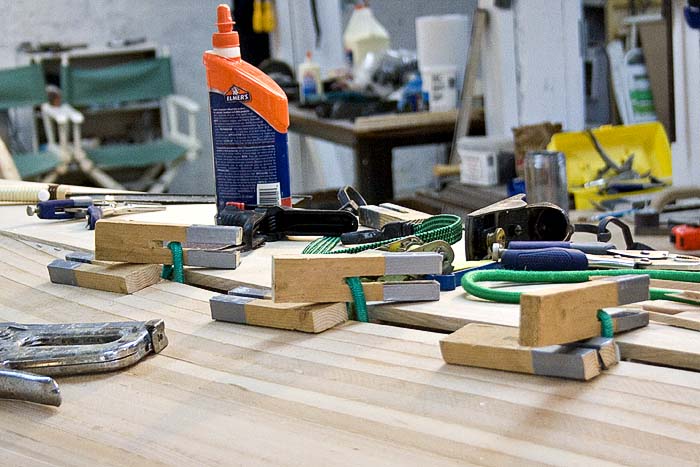

Blogging has been light lately. Between doing taxes, family obligations, etc., boat progress has been a little sparse. On top of that, there are no dramatic changes during this phase. You just kind of sand and smooth ‘til you’re tired of it, then quit for a few days and start again. At this point, though, the fairing is essentially done.
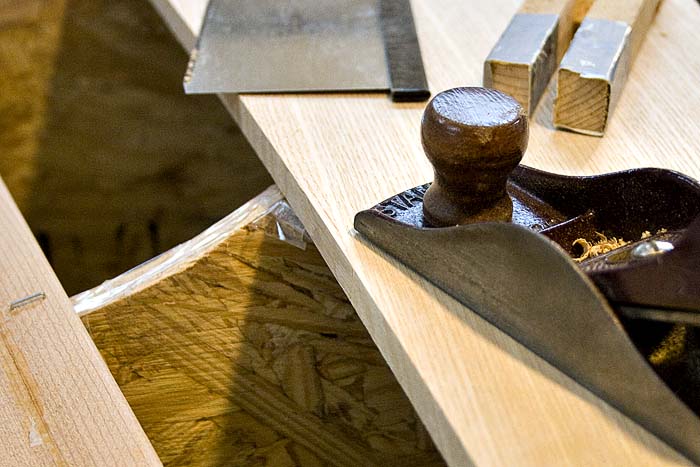
The next step will be adding skegs, and from here on out the boat will take on weight quickly, so flipping will not be so flippant. Because of the way I’m doing the transoms I need to visualize how the skeg, transom, rudder and hull parts will come together before committing. Hard to do that upside down, so gave me an excuse to turn one up again. Just walking into the room is nice – the smell of cedar, the gentle curves, smooth surfaces – but turning them over is a sensation like the humming of a gong. You just can’t help but go “wow . . .” Continue reading “Final Fairing”