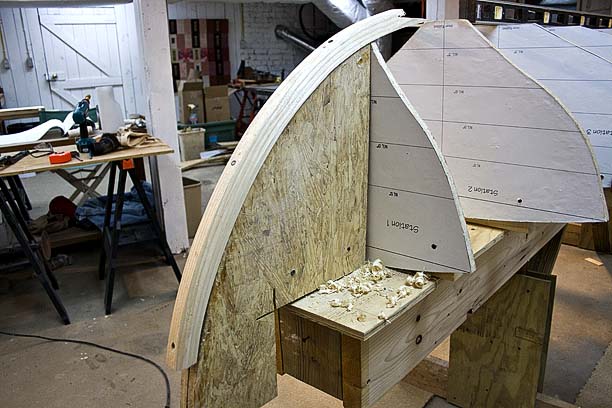
Epoxied stem laminations
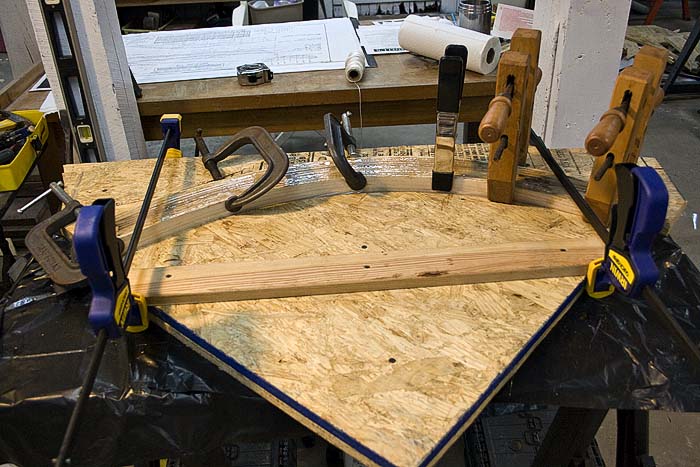
The strips are laminated together with thickened epoxy. Barto suggests laminating the entire stem together in once piece, then cutting the whole thing apart to form the inner and outer stem portions. As Tony Thatcher pointed out to me, that task is much easier if you have a band saw handy, which I don’t. Instead, I applied tape to the strips between one of the laminations to protect them, and skipped that layer when spreading the epoxy. Once the epoxy cured, a putty knife separated the two sections. They can be trimmed and shaped separately when the time comes. Doing it this way will make a couple of tasks easier down the road.
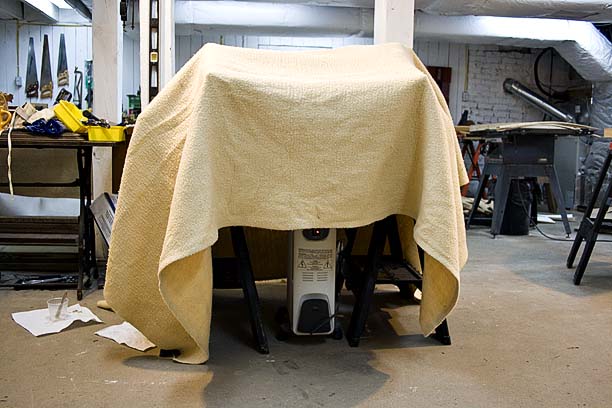
The basement stays a constant 55 to 60 degrees, with space heaters running or not. I have all slow-cure epoxy, which would normally take days to cure at that temperature. Toss a blanket over top and roll a heater underneath cranked up to 95 degrees, and it cures well enough to remove from the form overnight. Couldn’t do that when you want a clear finish – rising temps causes tiny bubbles to form in the epoxy – but it’s fine for structural work.
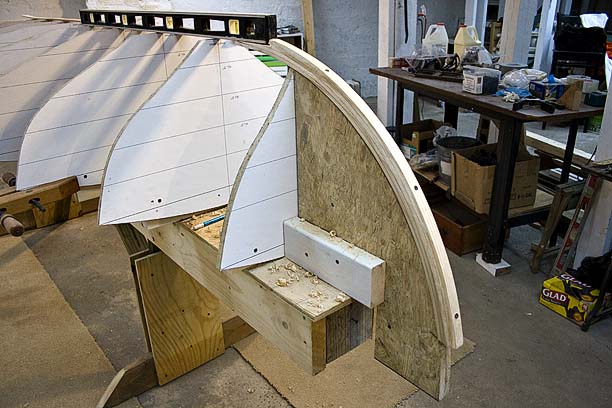
Mounting the stem mold on the strongback is tricky – you need about six hands – and it has to be plumb and square or the boat will have a crooked nose. Also, the height and position forward is somewhat dictated by the final shape of your stem, which may not be exactly as it appears in the plans. A quarter inch makes a big difference, because the whole boat converges on this point.
Before I cut the inner stem down to size, I mounted it temporarily on the mold and ran battens down the sheer to mark the spot where it crosses the inner stem. That’s the point where the top of the inner stem will end, flush against the underside of the deck.
Then I adjusted the position forward so the curve of the sheer is smooth, and so the place where the base of the stem attaches to the keel is flush with the keel line. Once marked, the top portion can be cut off and saved to glue later to the outer stem. The inner stem can then be screwed in place and beveled.
Like I said, it’s tricky doing all this in 3D space; it’s hard to even describe. It’s like sculpting someone’s portrait and trying to position the nose in the air, in the right place, before the rest of the head is there. In fact, the transom, at the other end, will be similar. These two things are the first two pieces that will actually become part of the boat – literally, you hang the stem and transom in mid-air and then build a boat between them. Weird.
The angle of the bevel changes from almost vertical at the base to about 30 degrees at top of the stem – a rolling bevel – and you just have to eyeball it, using a batten as guide.
Here’s another place where the figures on the Barto plans have to be adjusted. He specifies the inner stem width starting at 1 inch and tapering down from there. This will make the sides line up flush with the outer stem. But that’s for ship-lap planks, a double layer on each side where they overlap. With a strip-built hull there’s no overlap. So I realized I’d have to start out a half inch thicker and taper down to an inch.
Or at least I hope that’s right.
melonseed skiff, mellonseed skiff, melon seed, mellon seed
