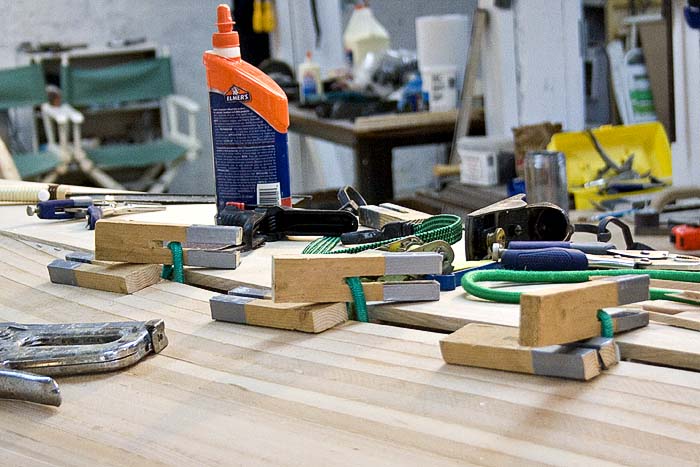
Bungie Chords to the rescue, again.
Wow. The last two strips on each side are incredibly difficult. If I’d known how difficult, I surely would have taken another tack.
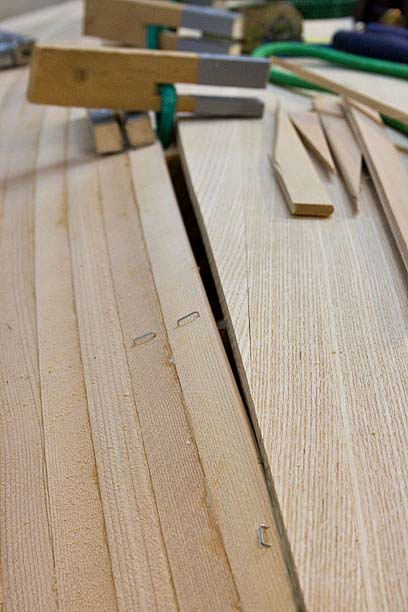
There’s still a lot of curve in this section, in the direction the strips don’t want to bend. But the strips are short so you can’t get any leverage. Pushing them into place takes both hands, and they still spring out of the slot and pop you in the face. Plus, each strip has to be cut exactly to size, with bevels and long tapers on both ends, which means prying them into place multiple times as you shave and refine the shape. I haven’t broken a single strip until this point, and I broke four on Saturday – one for each strip that went on successfully.
There’s so much tension on the strips that staples alone won’t hold them down. I finally came up with a way to use bungie chords to hold the strips flat and would still let me insert the strips multiple times, shift them enough to get a good fit, then staple.
One last complication: As luck would have it, the strip spacing came out almost exactly right. The last strips will just span the final gap. Well, they would, except I have one keel just slightly offset by less than 1/8”, which means one side of one boat will take a strip and a sliver. Dang.
I knew this part would be tough, and already considered several options to avoid it, but I didn’t realize how tough. Most people do it this way, though, so I figured how hard can it be? Knowing this now, I would definitely use an alternate method.
Roger Allen designed his boats with round bottoms and no keel planks. This would help, as you just continue stripping all the way up one side, trim them off straight almost down the center line, then do the other side, and drop a final straight strip in the middle. It does leave out a lot of the traditional complex hull shape, though, so it changes the design quite a bit below the waterline.
Some people start at the keels and work their way out, then cut the strips off flush at the sheer. This is very easy, but if the boat won’t be painted inside and out the lines of the planking don’t follow the lines of the boat, and doesn’t look right to my eye.
I see three options, any of which would work:
1) Leave the keel for last. Strip up both sides, overlapping the turn of the keel. Trim them off with a vertical cut at the turn, using a batten for a guide, then strip in the keels. Since the keels don’t twist, stripping those in should be relatively easy. In fact, after the first curved keel strips you could switch to straight ones and it would be a piece of cake. In my case, too late for that, though.
2) Before finishing the hull, make one long strip for each side that runs the full length of the boat, planing off the bead and cove. This “inlay strip” will follow the line of the keel. Bevel the one edge to fit where it joins the keel, and set it aside. Run all the side strips up just short of the keel to less than one strip width away. Doesn’t have to be exact. Finally, tack down the inlay strip in place on top of the side strips and scribe a cut line. Cut and shape as needed. The inlay strip should then drop in place. This strip could be in a different type of wood to make an accent stripe. I could still do this one, though not as easy as if I’d started that way.
3) Go ahead and strip up to the edge of the keel, getting close but don’t worry about a tight fit. When they’re all done, take a router with a 1/4” straight bit and run it right down the seam, following the edge of the keel. Then drop in a 1/4” strip turned on edge that can be planed and sanded flat. Again, this could be in a different wood to make an accent stripe. This one is sounding really appealing right now.
I’ll have to think on this some more and decide.
melonseed skiff, mellonseed skiff, melon seed, mellon seed


