an infrequent repository of mostly new stuff

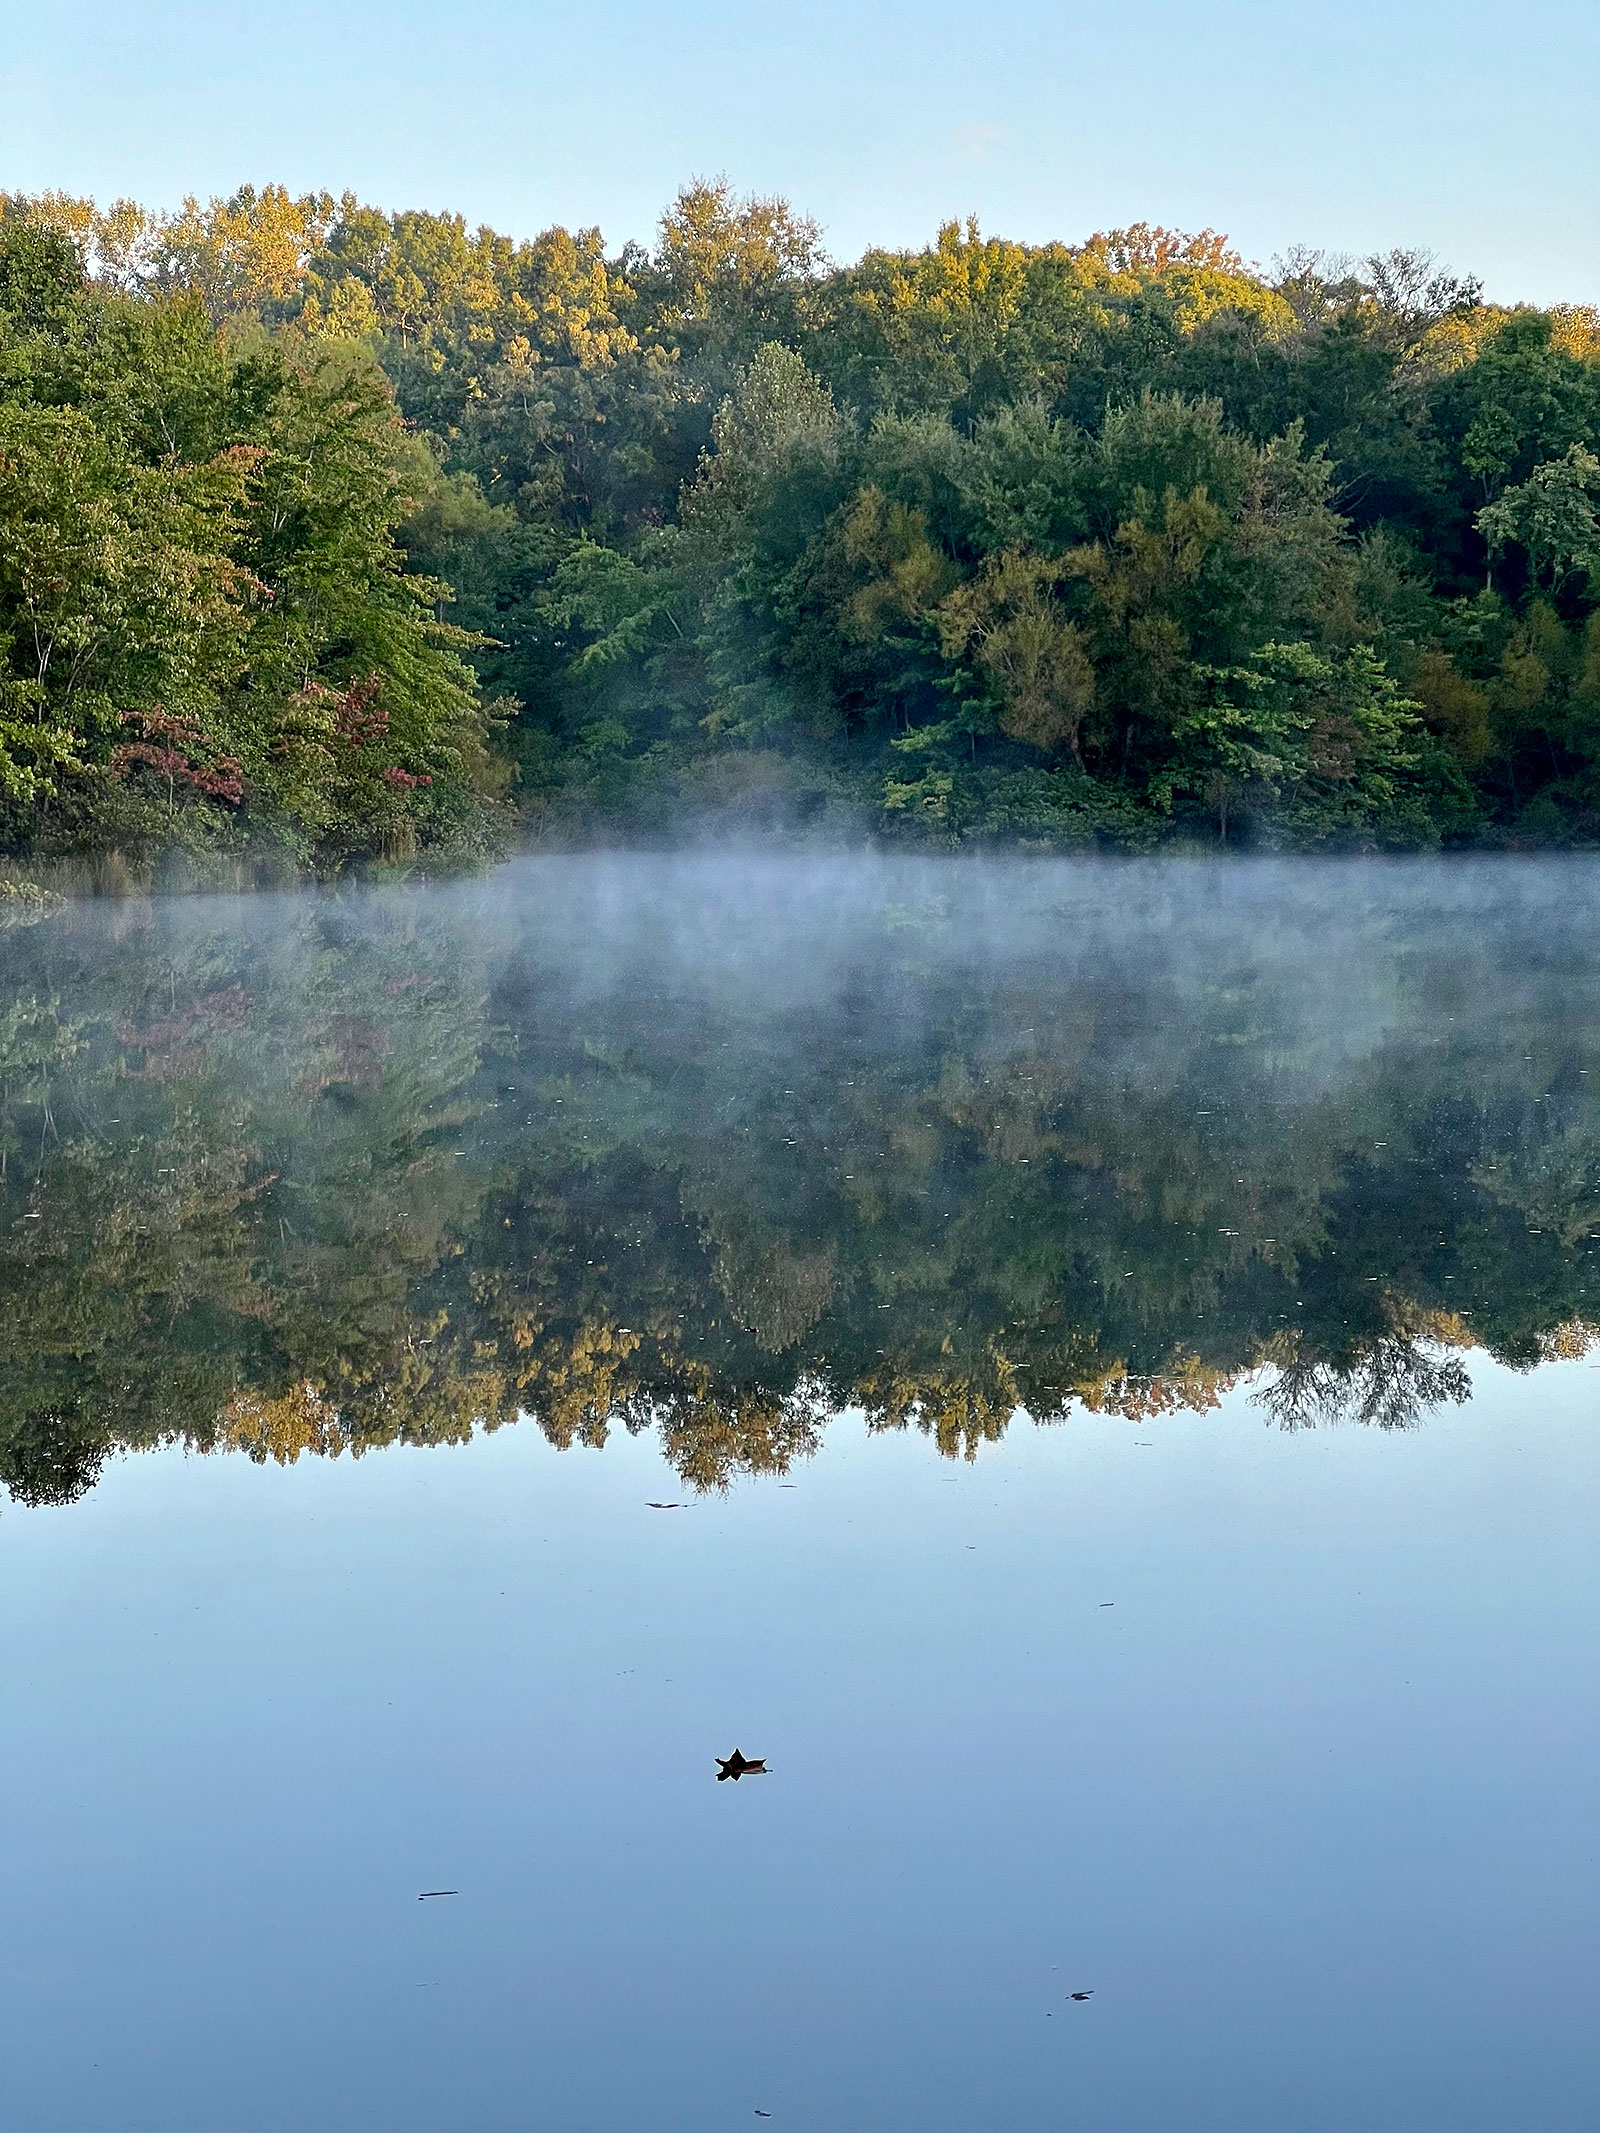
Best part of my day.


Got out for a bit, change of scenery.
Heard a poet singing to a park of children and tent homes,
from the hole where the hearse wasn’t, at a funeral home.
A nice place to watch the slow turn of celestial spheres.
Sometimes I take my coffee for a walk.


direct YouTube link: Melonseeds Off Urbanna
Short clips from the trip. I didn’t have the wind cover for the mic, so as not much natural audio this time, but enough to feel right. Doug provided the nice clip of me as we crossed tacks along the bluff below Rosegill.
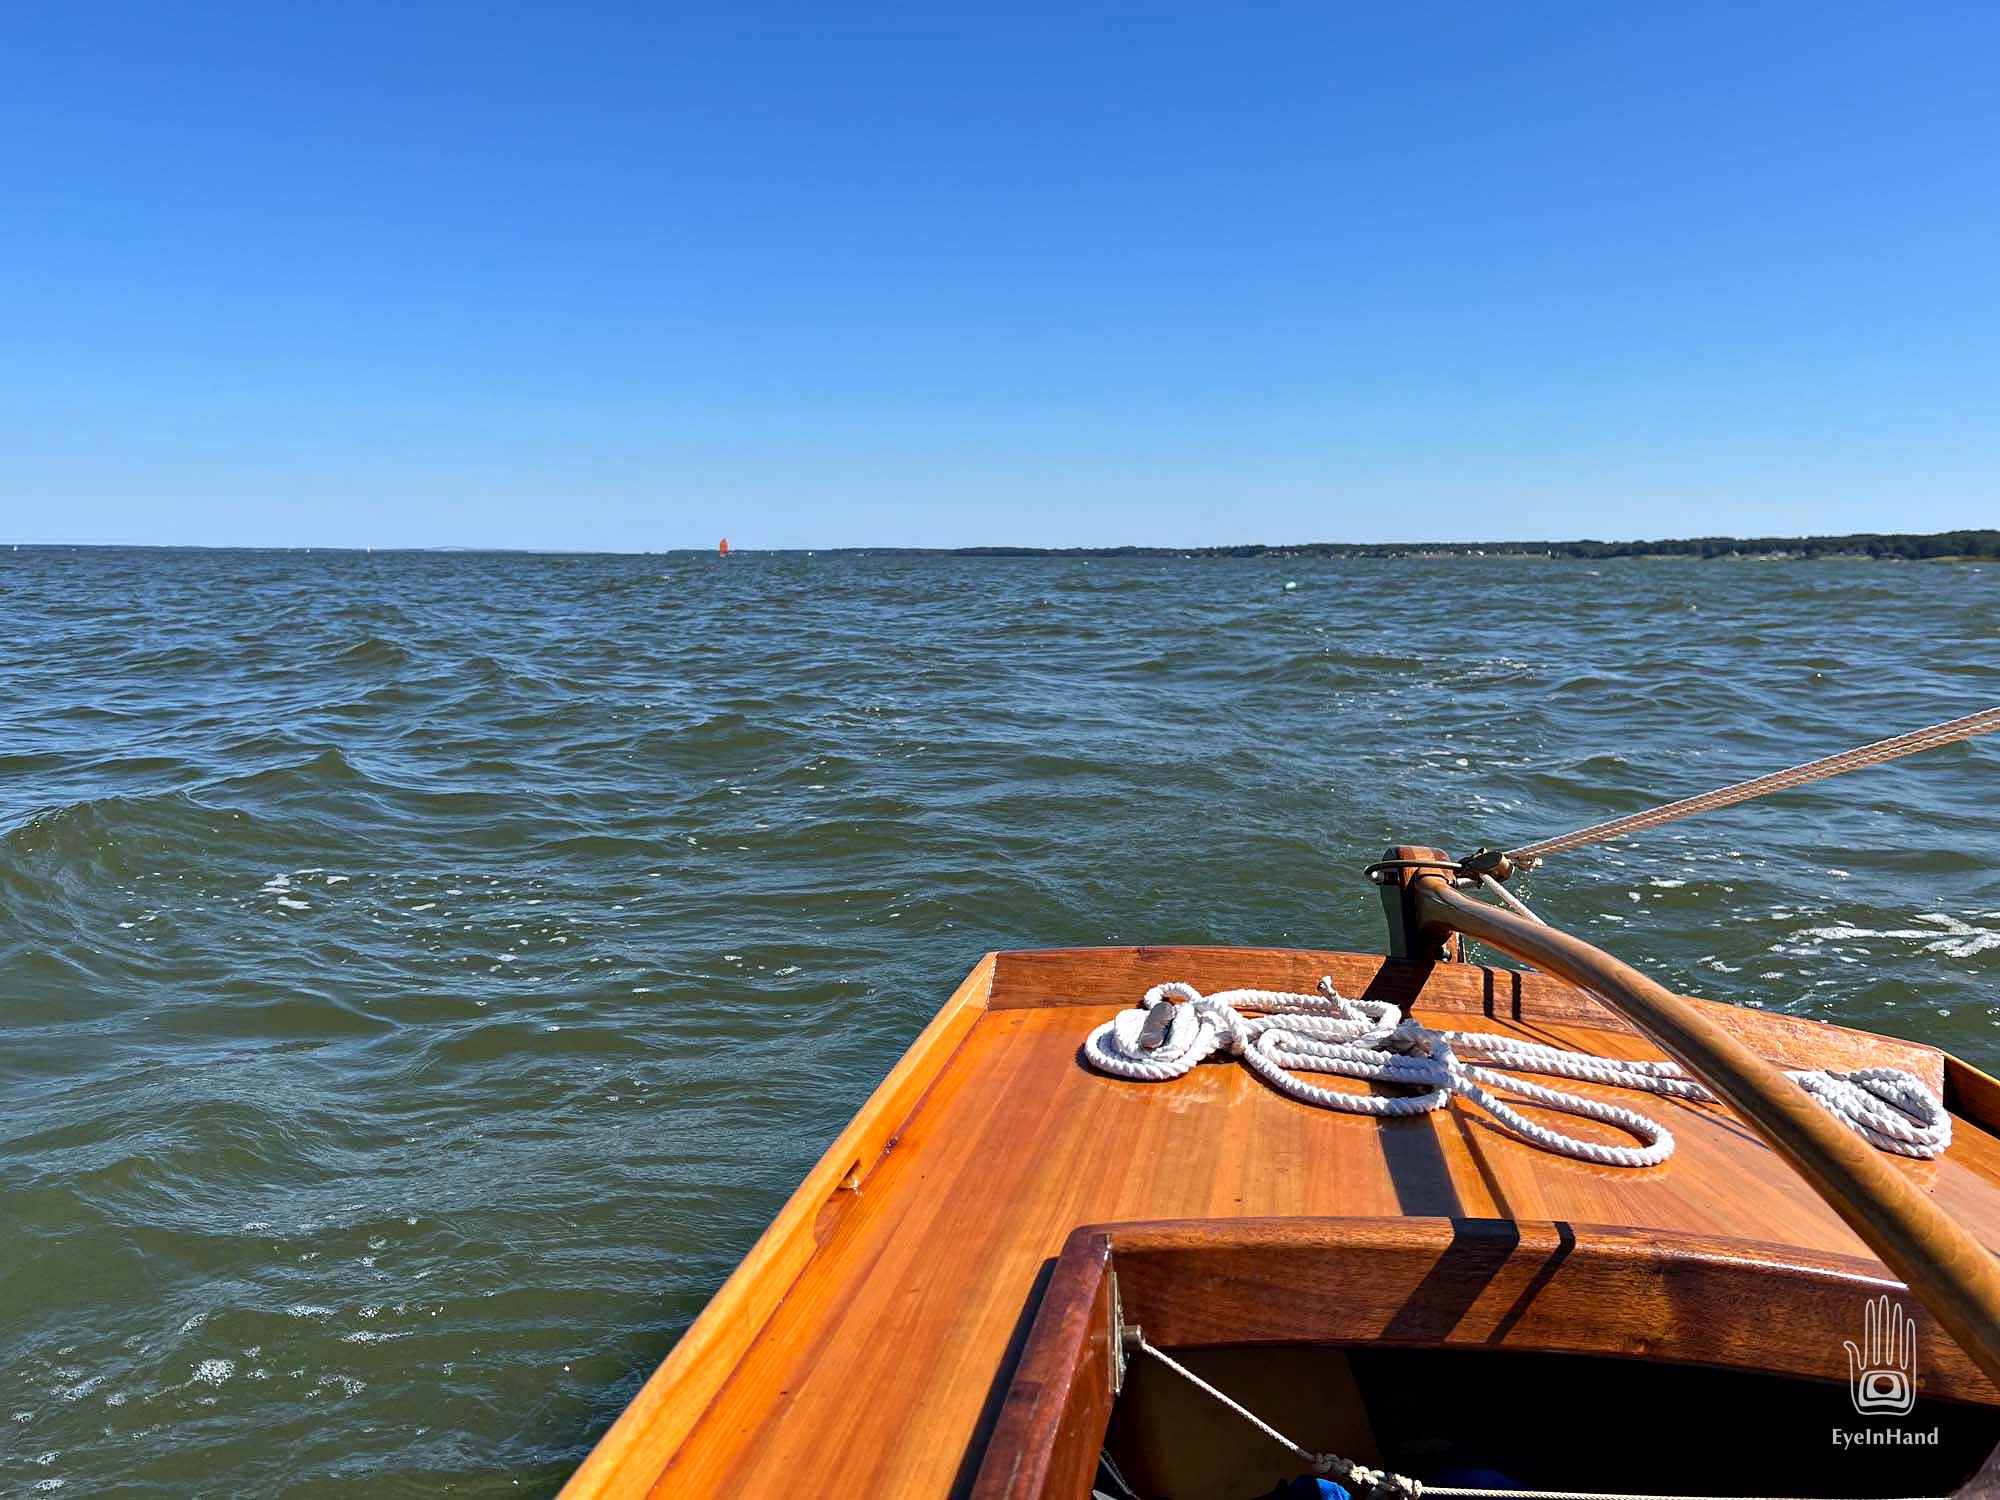
You can see how lumpy it was when we first left the harbor. Lots of bucking into the wind until the tide turned.

I pull slowly through town to the harbor. It’s almost noon, but the air is cool as I get out and start rigging. Urbanna is like Scottsville on the Rappahannock instead of the James. Nearly the same size and population, with the same small town vibe. Locals all know each other, and know who is “from away”. If you’re from away, you’re a “Come Here”. I am asked several times “Where y’all from?” – in a cheerful friendly way, truly interested to hear your stories. Inevitably this leads into long conversations, teasing out, without being too direct: “Who are your people?”, “What brought you here?”
You don’t get that as much in a big city.
There’s also the brother/sisterhood of boating that creates a quick affinity – “Lovely boat, did you built it?” – which, in the case of these small Melonseeds, leads into shared stories of small boats fondly remembered from growing up on the water.
Doug is delayed in traffic out on the interstate, which is fine because I’m always slow getting ready. I walk to the office to pay the ramp fee. In the small office the harbor master is on the radio with someone he seems to know. I make a hand motion like sliding down an incline, “You’re fine. Go ahead, I’ll come find you.” I nod and leave $20 on the desk.
He wanders out with a receipt and a boat hook as I putter with sails and line, and this exchange turns into a pleasant 20 minute conversation. He’s tall, lanky, and tan, with longish grey wind tossled hair. Wants to know all about the Melonseeds. Tells me about his cruiser up at the end of the dock. Turns out he knows Scottsville well. His niece is opening the Montessori School there, which was big news in our small town. So we cover all the bases noted above, including how this part of the Rappahannock is like coming home for me. He fills me in on some of the local news, of the latest efforts by developers to turn the town into another Virginia Beach. At the moment it’s the historic property across the harbor, Rosegill, that’s in their sites. I know some of the history of the place, both colonial and contemporary. It has changed hands and plans several times just in my lifetime. The new owners are developers with big plans that don’t have much to do with history.


Doug arrives, and in a few minutes we’re launched. It’s been a long time since we sailed in the Melonseeds; much longer for Doug since he got the Marsh Cat. And we’ve both had lots of job and house stuff to keep us away too long. So we noodle around the town harbor in Urbanna Creek a bit to be sure everything is shipshape, then head out the channel to the open River.
It’s a beautiful day, with clear skies and the first hint of fall. A cool breeze is coming out of the north at a steady 12-15mph. Perfect. The wind is against the tide, though. At this turn of the Rappahannock, there’s about 10 miles of fetch. No whitecaps, but a little lumpy in the open river. The current will reverse mid-afternoon, so we tack back and cruise along the shore. A long rock jetty protects the mouth of the harbor and today it makes a breakwater perpendicular to the wind. This leaves a half mile of flat water with good wind along shore, so we spend a couple of hours skimming back and forth, near shore and farther out, pass each other sometimes or head off in opposite directions.

This bank east of the harbor is lined by a high sandy bluff that runs for more than a mile, the whole stretch is part of the aforementioned Rosegill Plantation. Originally a grant of over 3000 acres from the King of England, it dates to 1649. A modest spread that was the summer home of the new English owner. That makes it older than Williamsburg, and only a few years later than the first settlement at Jamestown.
Of course, it was older than that. It had been home of the the Nimcock tribe. I understand their name is an Algonquin word that means, “Indians who live in towns”. They had whole villages with homes and common houses surrounded by protective palisades. They, of course, were not consulted when a King across the ocean declared it all now belonged to the latest Come Heres. The whole tribe was moved upriver.


A port was built at Urbanna Creek to ship tobacco back to Europe, duty free, the first profitable crop out of the colonies. Colonial plantations, like all those that came later, created little solar systems of economic activity, like a form of gravity that attracts more people. Before long, an older version of The Company Town emerged on the banks of the harbor. Some buildings still uphill from the harbor date to before the Revolutionary War. Beyond those, in concentric orbits, are homes and churches and other buildings constructed in each new era – before the Civil War, before World Wars I & II and beyond, up to the present day.

Rosegill remained a working plantation for most of that – through Indian Wars, Revolutionary Wars, Civil Wars, World Wars – remaining in the same family for five generations, well over two centuries. The fifth generation son and heir was an ardent Tory, vocally loyal to the King throughout the war for Independence. This did not sit well with his neighbors. He was subsequently banished to western Virginia, and the house was promptly pillaged by his Tory privateer buddies. Seems he didn’t suffer too badly, though – he only had to go as far as another family estate, his father’s 10,000 acre shooting preserve in the mountains of what is now West Virginia. He returned later, joined the new government in Williamsburg, and retained the estate until his death in the 1800s.
The property has exchanged hands many times since then. There’s an extensive collection of old photos here:
Source: Rosegill – http://www.rosegill.com/Overview/Overview.html#anchor427568
After an hour or two cruising along the brow of the bluff, the tidal current reverses and the sea settles down. We round the jetty and head northwest, reaching upriver.

A mile ahead I steer for a white sand beach in the lee of the bar at the mouth of Robinson Creek. A good place to get out and stretch. I coast to a stop among myrtle and mallow and Doug soon follows. But what looked like just sand turns out to be largely a narrow bar of old oyster shells, with a quiet tidal pond on the other side. The shells are bleached white, with all the sharp edges worn off. Likely this bar was an old midden of some kind.


This section of the Rappahannock was once lined with oyster shucking houses, on both sides of the river for miles. Another commodity that brought boom times after tobacco, Chesapeake Oysters were famous all up and down the East Coast. Those shucking and canning operations produced mountains of shell, enough to pave roads and, when there was nowhere else to put them, build land where there was none. This whole spit could have started as the place where shells were dumped back into the river. Or, before that, Native Americans also made oyster shell middens of their own. I’m speculating, but these creeks were ideal for oysters, and the deep water protected harbors ideal for shipping.

Thinking about oysters makes us hungry, and the sun is getting low. We push off for an easy broad reach all the way back. There’s just enough wind to wind into the harbor. People in sailboats, pontoon boats, and cruisers pass slowly, smile and wave. People on the beach at Bailey Point smile and wave. Very pleasant business, and a gentle glide up to the ramp in town.


As I pull slowly through town on narrow streets through neighborhoods, people I spoke with earlier in the day, out washing up their boats in the yard or tending a garden, recognize me and a wave, one shouts “Come back soon!”
We land again on Robinson Creek further up this time, pulling the boats behind us, to a working seafood wharf that’s also a rustic restaurant on stilts out over the water. Same place where Vera and John brought us on our quest for Soft Crabs back in May.
I have not eaten since breakfast. With a couple of cold beers, we each polish off a dozen local oysters, a half pound of spiced shrimp, and a Soft Crab sandwich with a side of slaw. Easily.


A fine end to a really fine day, one much needed. I think we will be back soon.


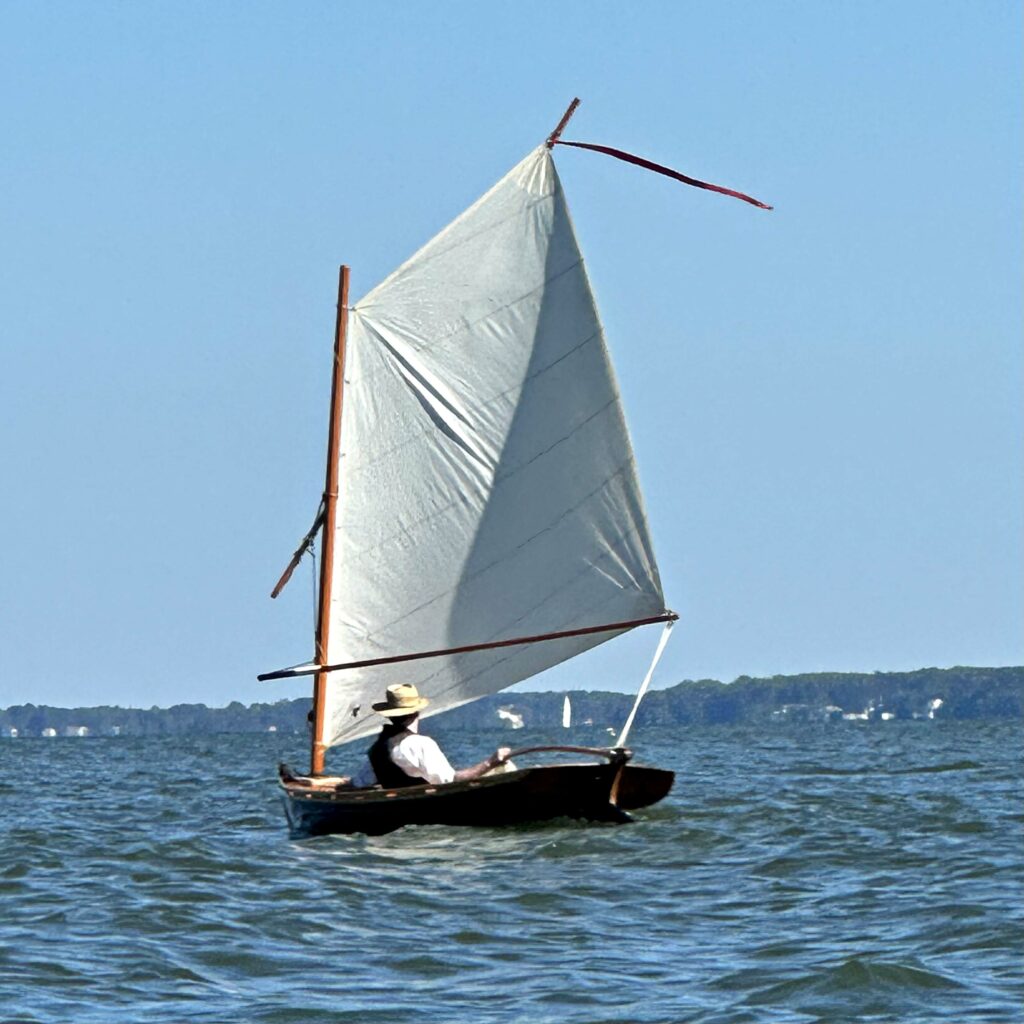
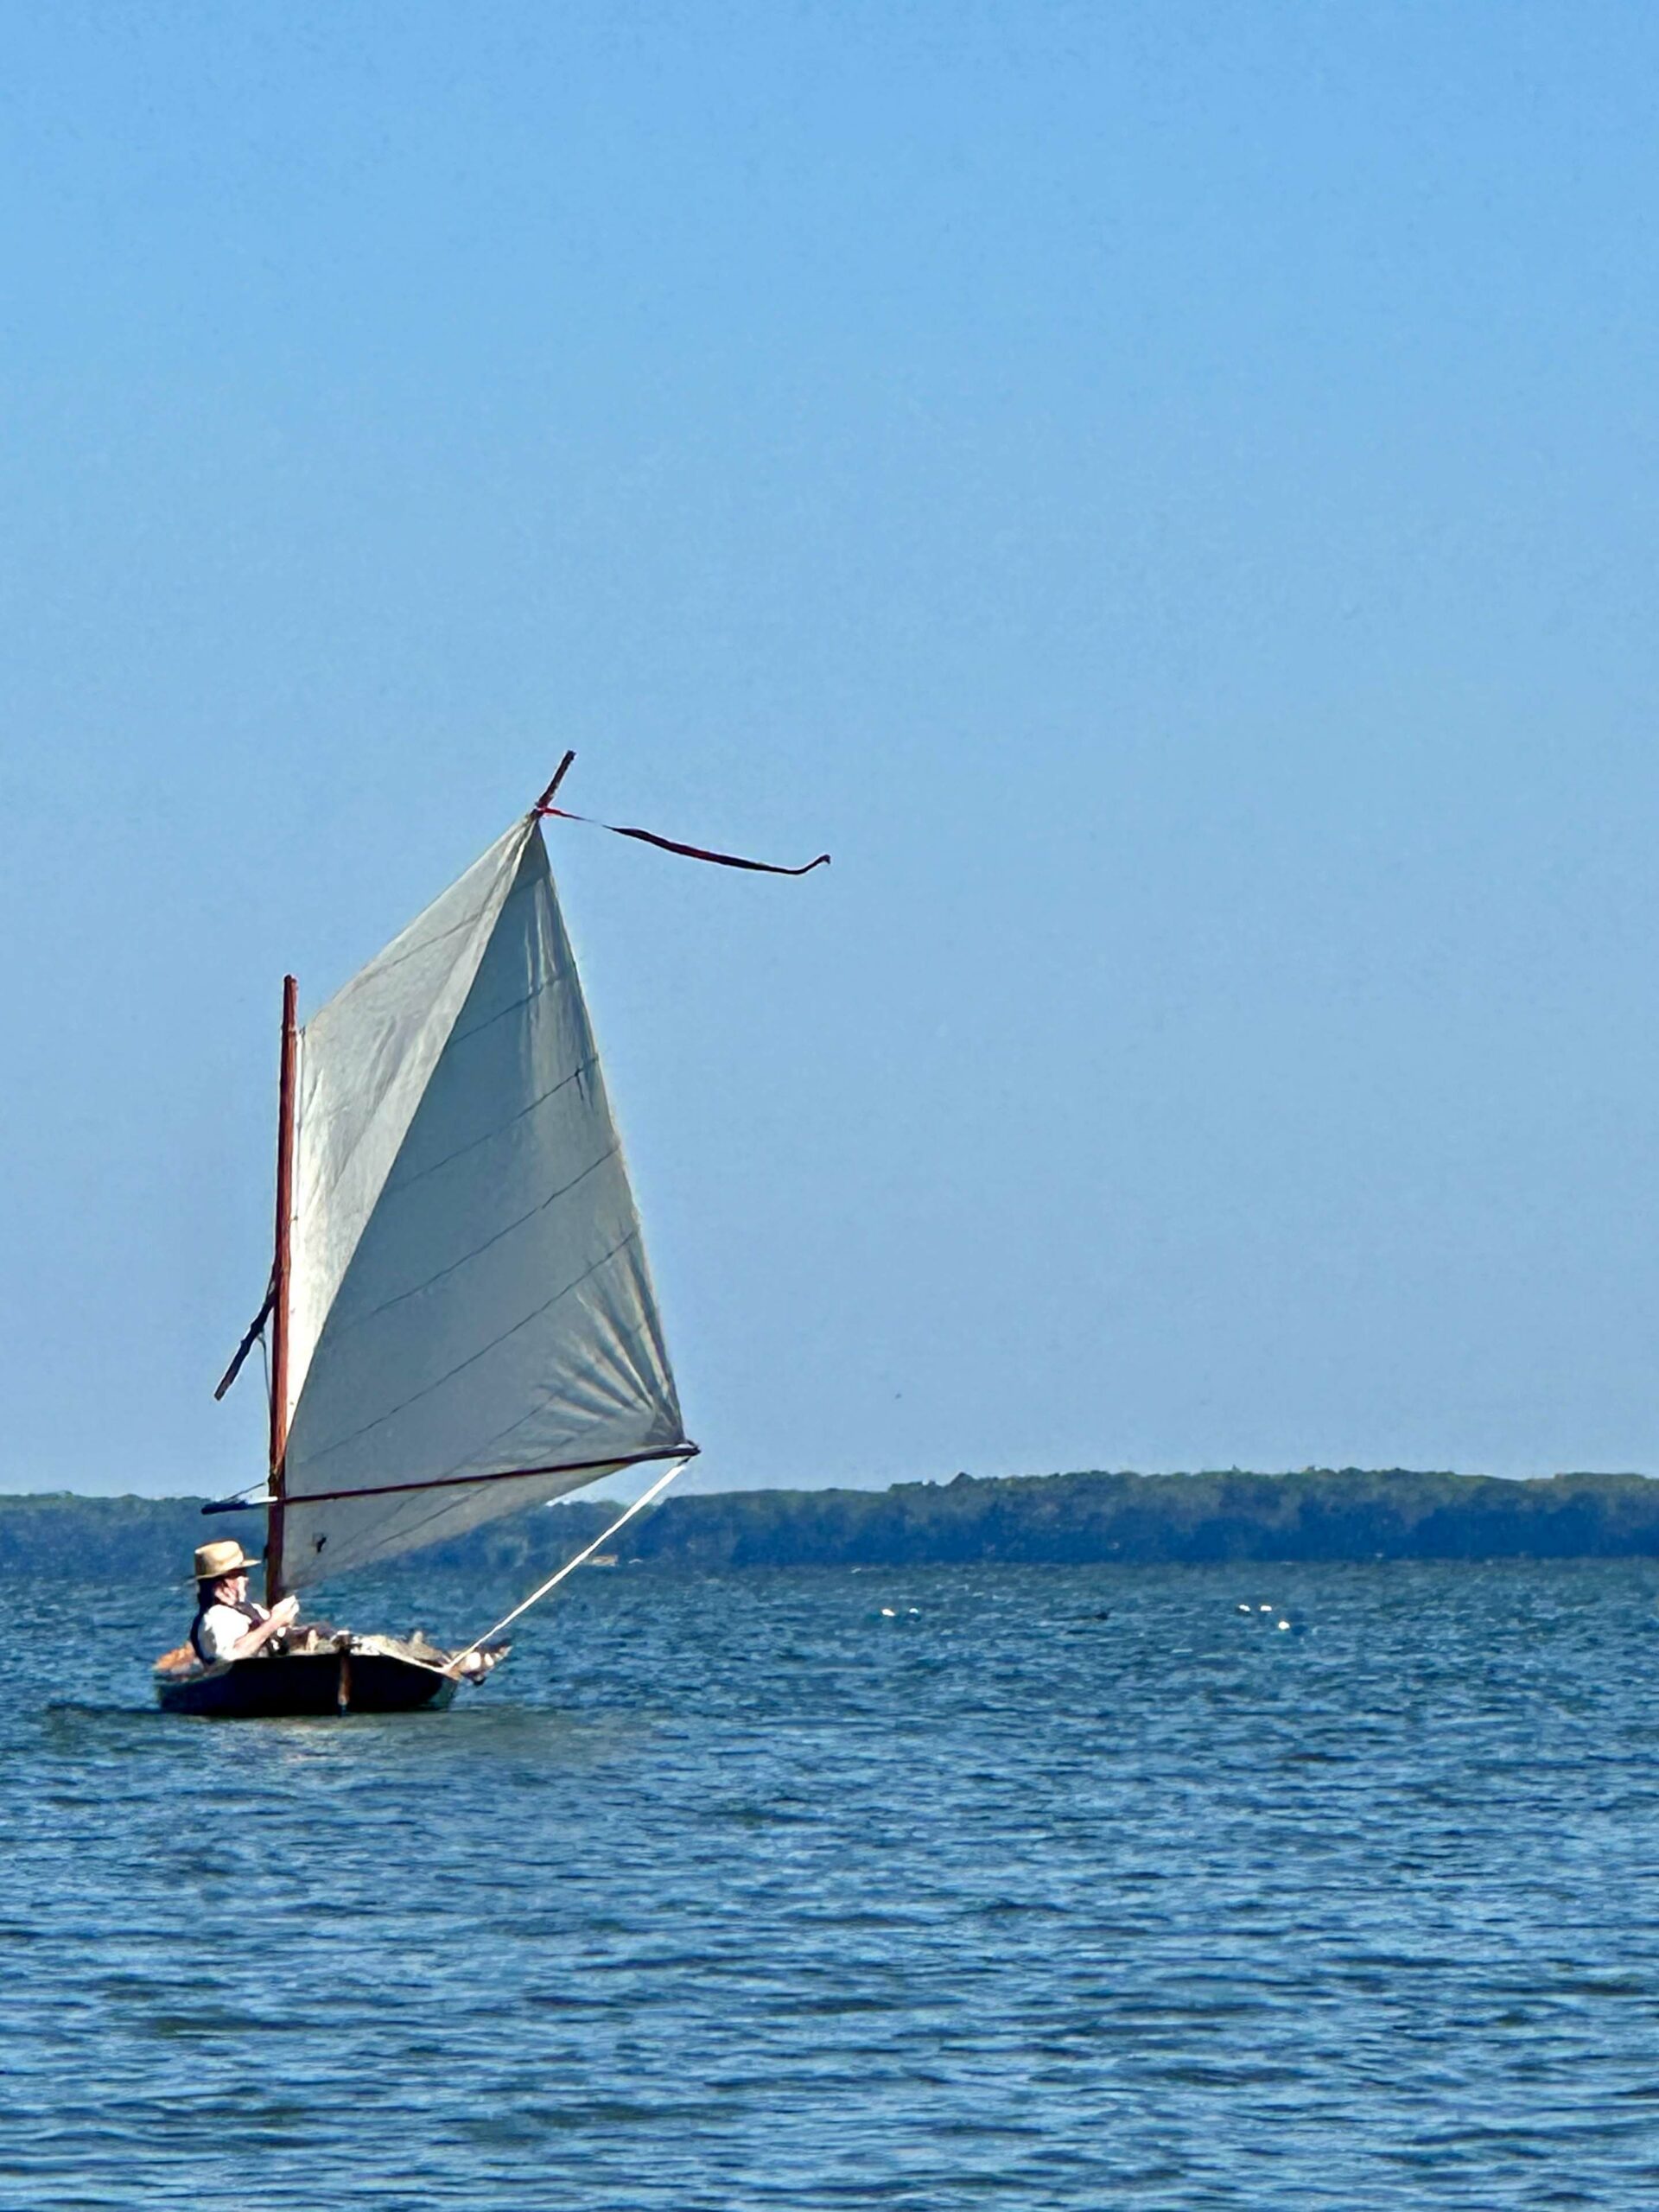
photos by Doug Lawson
One of the nice things about sailing with others is you get to see yourself in their photos. Doug snapped a couple as we passed each other. Thanks Doug!