Planking

 First strip planks in place


(to start of project)

 After two months of careful preparation, it’s crazy how fast the planking goes up, and how quickly what was only abstract art becomes a physical boat.

An extra set of hands, like those of a daughter home from college, really help. When those hands have to go back to school, you have to improvise. These snug fitting “fingers” hold the gluey strips in place as you work your way back with the staple gun.

Continue reading “Planking”

Measure Twice, Cut Once

Hey! Remember me?


(to start of project)

Notes to self:

  1. Check measurements twice, again.
  2. Pay attention to wife.

Some things bear mentioning over and over again.

Continue reading “Measure Twice, Cut Once”

Transoms and Then Some

Inner Transom 


(to start of project)

 Yellow Pine smells like Georgia.

And Sandalwood incense.

And the rosin in my grandfather’s fiddle case.

Continue reading “Transoms and Then Some”

Transoms

Planing Pine 


(to start of project)

There really are great people in this world. It constantly amazes me.

I don’t have a planer. I’ve never needed one before, and don’t expect to need one again, so it doesn’t make sense to buy one, though I’ll need one several times off and on for this project. Couldn’t even find a used one locally. But a perfect stranger has come to my rescue. I posted a query on our local Freecycle bulletin board and, only hours later, Kim in Ivy offered to let me borrow theirs. Very cool. (Thanks Kim!)

Continue reading “Transoms”

Laminations & Lamentations

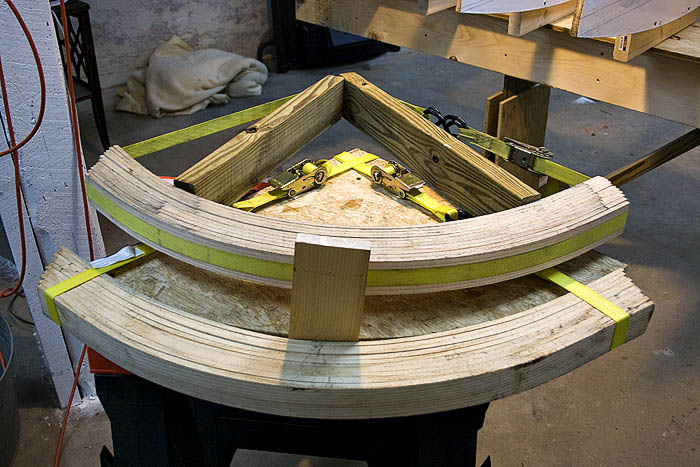
Epoxied stem laminations 


(to start of project)

The strips are laminated together with thickened epoxy. Barto suggests laminating the entire stem together in once piece, then cutting the whole thing apart to form the inner and outer stem portions. As Tony Thatcher pointed out to me, that task is much easier if you have a band saw handy, which I don’t. Instead, I applied tape to the strips between one of the laminations to protect them, and skipped that layer when spreading the epoxy. Once the epoxy cured, a putty knife separated the two sections. They can be trimmed and shaped separately when the time comes. Doing it this way will make a couple of tasks  easier down the road.

Continue reading “Laminations & Lamentations”

Getting Steamed

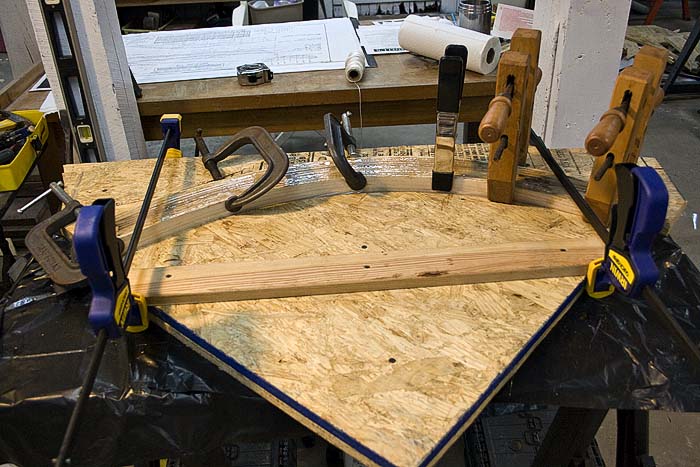
 Steam bent strips of Ash, cooling and drying


 (to start of project)

Soaking the wood helps. I knew something was different as soon as condensation started dripping out the bottom of the tube. That didn’t happen before, as though the wood was soaking up all the moisture. Still, the whole bundle had to stay in the cooker for an hour.


Continue reading “Getting Steamed”

Cooking Wood

Ash Slab to Ash Strips


(to start of project)

This steam bending stuff is not exactly rocket science, which is too bad. I mean, with rocket science you have formulas and calculations, and you do your pencil work and it all comes out right. This ain’t that. Everything I read said rule of thumb is steam 1 hour for every inch of thickness. I thought it odd that all the sources seemed to be quoting the same guy, who obviously had never tried it.

Continue reading “Cooking Wood”