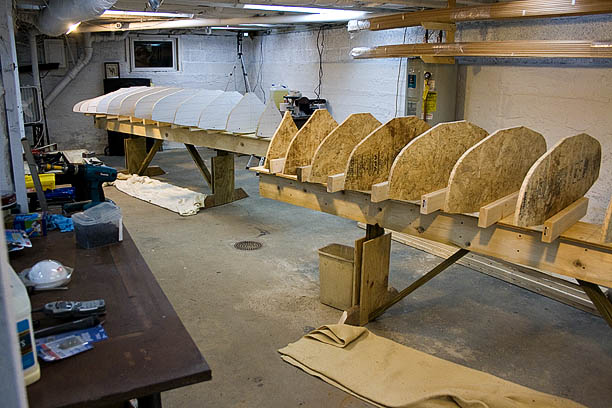
Mounting the molds on the strongbacks is a tedious process. Everything has to be plumb and square and level; which is hard to do since the molds are only attached along one edge at this point. Everything wants to wiggle. Clamps help, an angle gauge serves as a jig to set the 12” waterline to the same height on every mold, and shims adjust the elevation until screws are driven in. Once a batten is tacked along the top, and a few strips are run up the sides, everything will lock in place.
There’s a two inch lip around the edge of the strongbacks, which turns out to be very handy for clamping, and leaves room for driving screws into the braces from underneath. And THAT means I’ll actually be able to unscrew the molds from the strongbacks once the hulls are done – verrry important detail.
The lines printed on the patterns really help. With a centerline, sheerline and waterlines already in place, there are multiple places to measure and verify alignment. I can’t imagine how you’d do it without them.
The nice thing about all the tedium is that once it’s done you get the first 3D inkling of the actual size and shape of the hulls.
Next up are the stem molds, stems and transoms.
melonseed skiff, mellonseed skiff, melon seed, mellon seed


