Laminations & Lamentations

Epoxied stem laminations 


(to start of project)

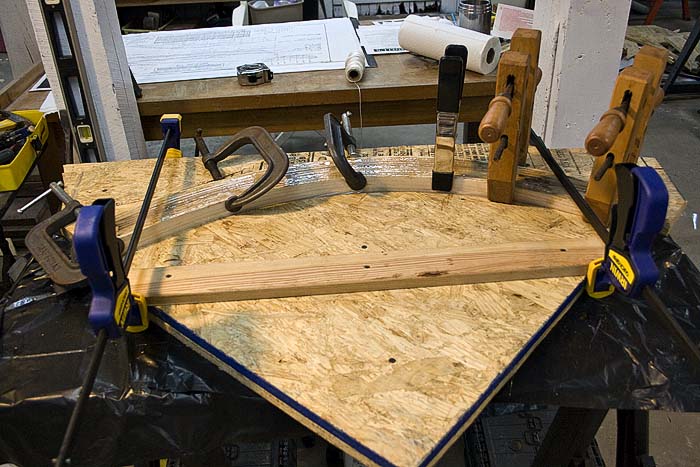
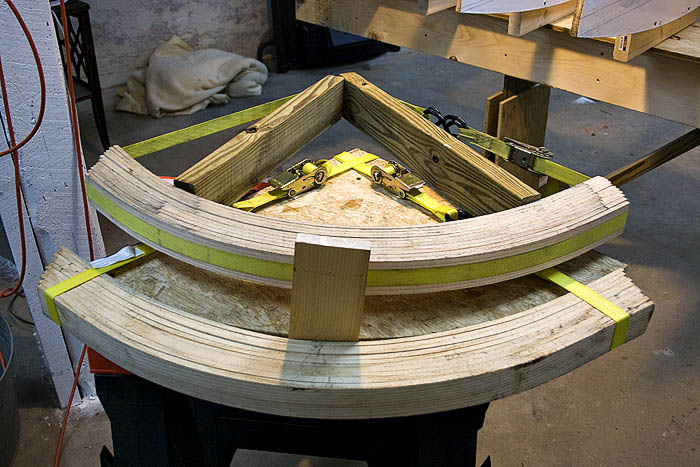
The strips are laminated together with thickened epoxy. Barto suggests laminating the entire stem together in once piece, then cutting the whole thing apart to form the inner and outer stem portions. As Tony Thatcher pointed out to me, that task is much easier if you have a band saw handy, which I don’t. Instead, I applied tape to the strips between one of the laminations to protect them, and skipped that layer when spreading the epoxy. Once the epoxy cured, a putty knife separated the two sections. They can be trimmed and shaped separately when the time comes. Doing it this way will make a couple of tasks  easier down the road.

Continue reading “Laminations & Lamentations”

Getting Steamed

 Steam bent strips of Ash, cooling and drying


 (to start of project)

Soaking the wood helps. I knew something was different as soon as condensation started dripping out the bottom of the tube. That didn’t happen before, as though the wood was soaking up all the moisture. Still, the whole bundle had to stay in the cooker for an hour.


Continue reading “Getting Steamed”

Cooking Wood

Ash Slab to Ash Strips


(to start of project)

This steam bending stuff is not exactly rocket science, which is too bad. I mean, with rocket science you have formulas and calculations, and you do your pencil work and it all comes out right. This ain’t that. Everything I read said rule of thumb is steam 1 hour for every inch of thickness. I thought it odd that all the sources seemed to be quoting the same guy, who obviously had never tried it.

Continue reading “Cooking Wood”

Moldy Strongbacks


(to start of project)

Mounting the molds on the strongbacks is a tedious process. Everything has to be plumb and square and level; which is hard to do since the molds are only attached along one edge at this point. Everything wants to wiggle. Clamps help, an angle gauge serves as a jig to set the 12” waterline to the same height on every mold, and shims adjust the elevation until screws are driven in. Once a batten is tacked along the top, and a few strips are run up the sides, everything will lock in place.

Continue reading “Moldy Strongbacks”

Molds


(to start of project)

Wallpaper paste doesn’t stick. At all. Neither does tape. Staples do. So does Liquid Nails.

I was planning to build some nice proper sawhorses, as my old slap-together set won’t hold screws anymore. I came across these plastic ones in the building supply store, and at $15 each I figured I wouldn’t lose much if they were junk, and there are times when you just need an extra one quick. Well, they’re totally awesome. There are notches in the top sized perfectly to hold 2×4 rails, and they have a shelf on the bottom to hold tools, and hooks on the side for T-squares and such, strong as heck, weigh nothing, and fold up to about 2” thick when you put them away. Totally awesome. It’s nice when something so simple can make you really happy.

Continue reading “Molds”

Lofting


(to start of project)

The particle board I brought home either got wet in shipping or the glue and moisture from manufacturing hadn’t dried. Either way it was damp, and as it began to dry in a stack it started to curl and warp. Not good. Had to prop them up flat with spacers and blow air through so the sheets would dry at the same rate on both sides. That’s my roll of patterns on top.

Continue reading “Lofting”

Strong Backs

Chapelle and Barto Plans

(to start of project)

 I’ll be working from a combination of printed plans along with measurements taken from boats of other builders, in addition to a few modifications of my own. Besides the one page Chapelle plans, I have the more complete set of plans from Wooden Boat Magazine by Marc Barto. I’ve also talked to Roger Crawford and taken measurements from his boats, as well as several other amateur and professional builders, all of whom you’ll hear more about later.

Continue reading “Strong Backs”